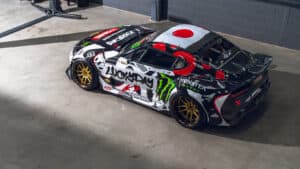
BEHIND THE SCENES: D1NZ Round 2, Pukekohe
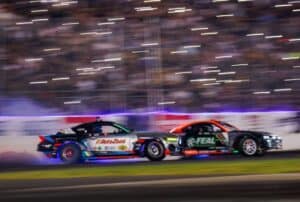
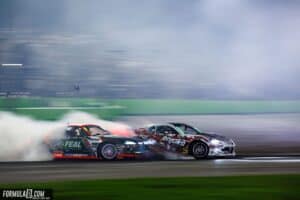
Round 2 of the Castrol Edge D1NZ National Drifting Championship was held in Pukekohe last month, with plenty of on track action and some great battles from the drivers.
If you missed our first Round 2 post you can check that out here, but for now we’ll be taking a closer look behind the scenes of New Zealand drifting.
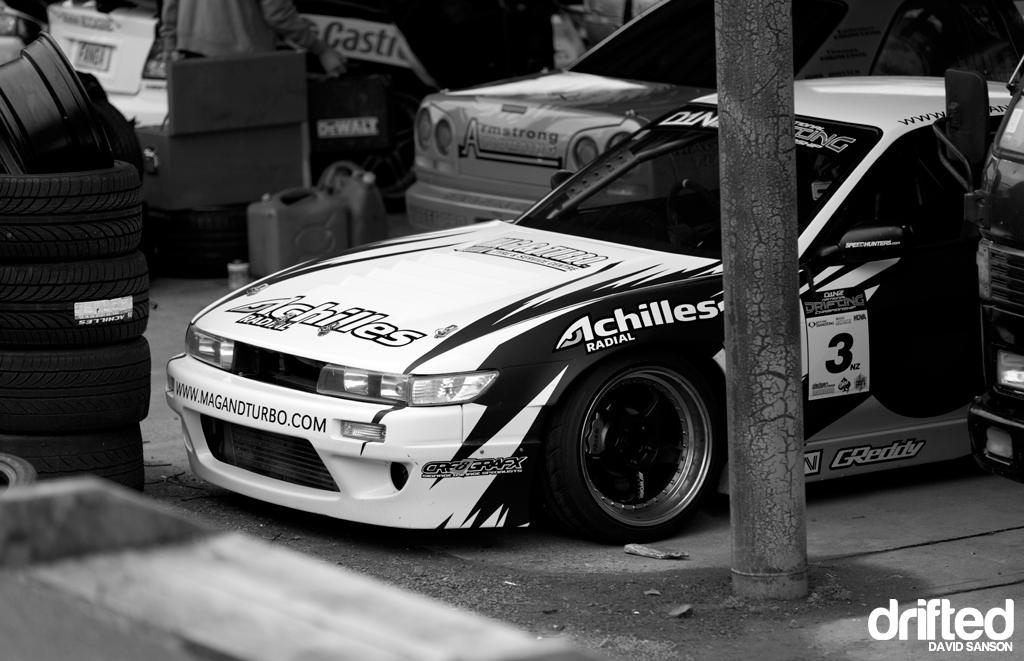
Bruce Tannock’s Achilles S13 Silvia looked stunning in the pits with the Tra Kyoto 6666 Rocket Bunny kit.
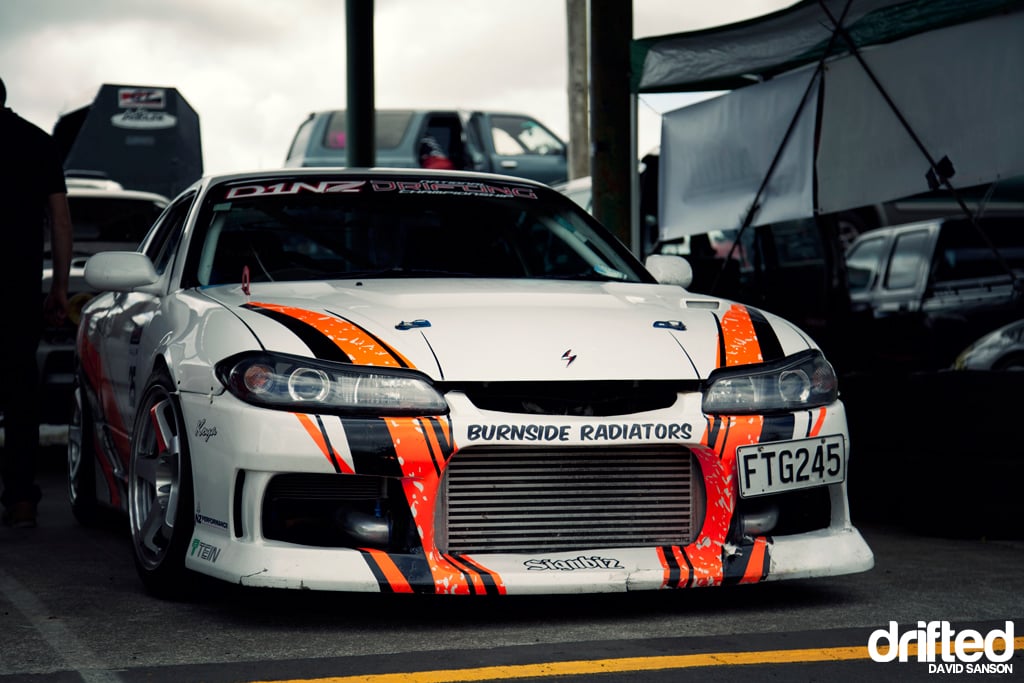
Mark Burling’s Dayglo S15 waiting in the pits.
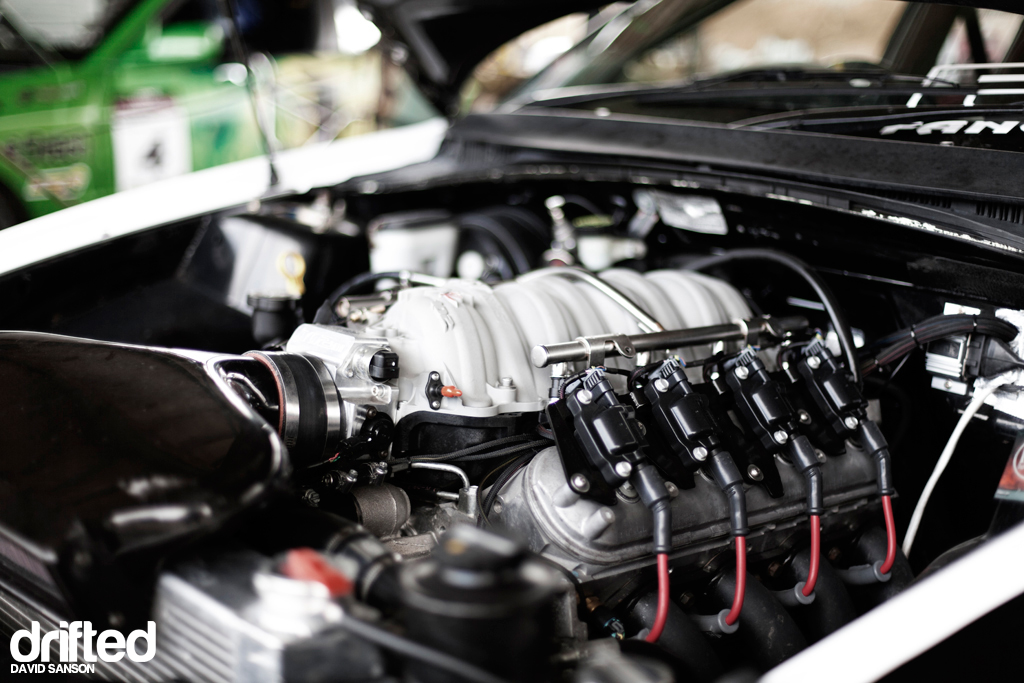
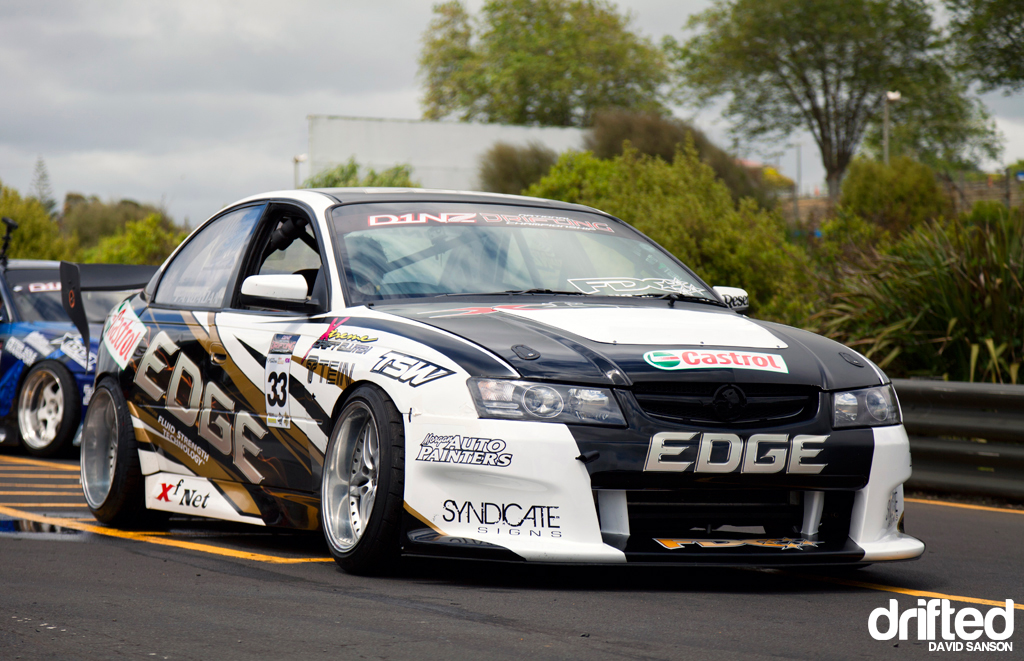
This massive Chevy V8 LS2 belonged to ‘Fanga’ Dan Woolhouse in the Castrol Edge Holden Commodore. How stunning does this car look?
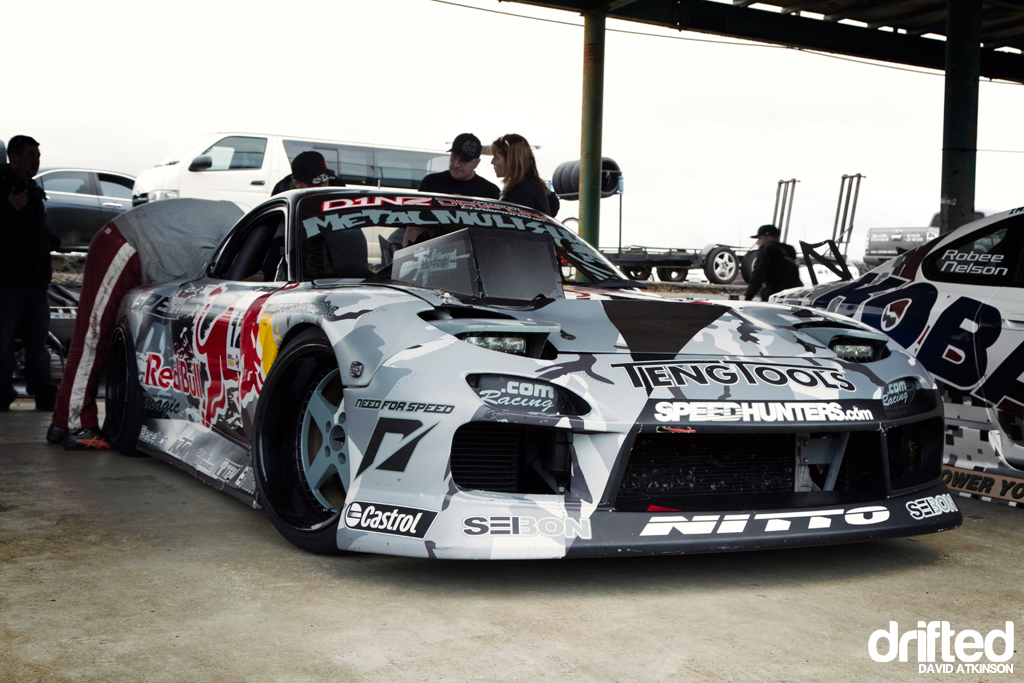
Mad Mike’s car always looks great in the pit bay with the aggressive widebody and gunmetal Work Equips.
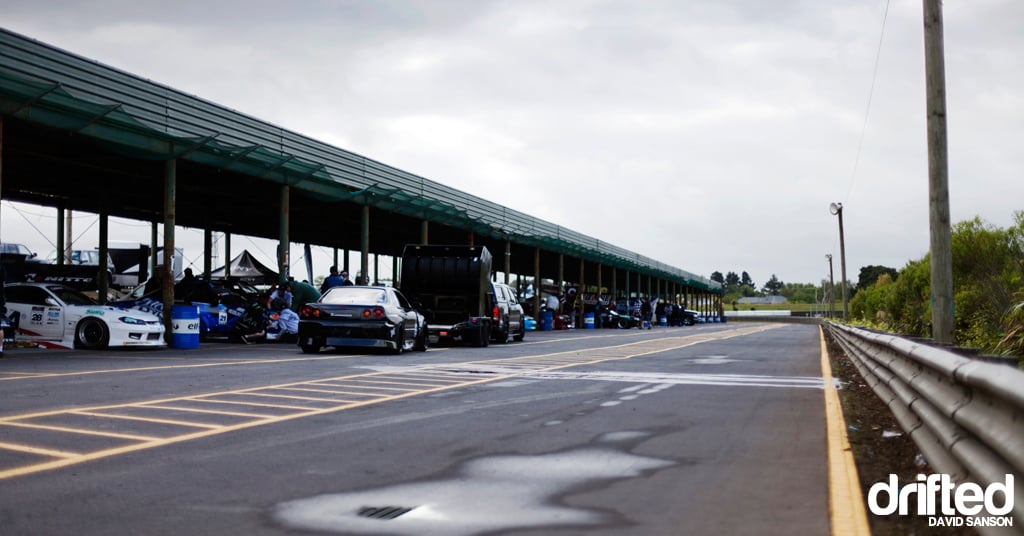
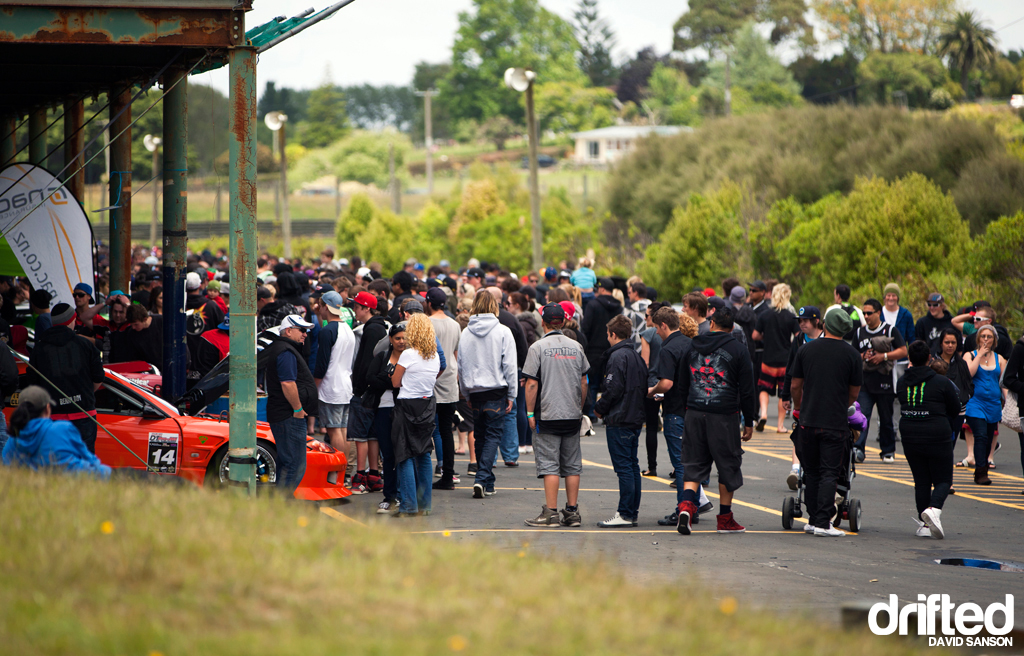
Over the lunch break the pit lane was opened for the public to view the cars and meet the drivers. There was a huge crowd and it was interesting to see them overrun the pit area.
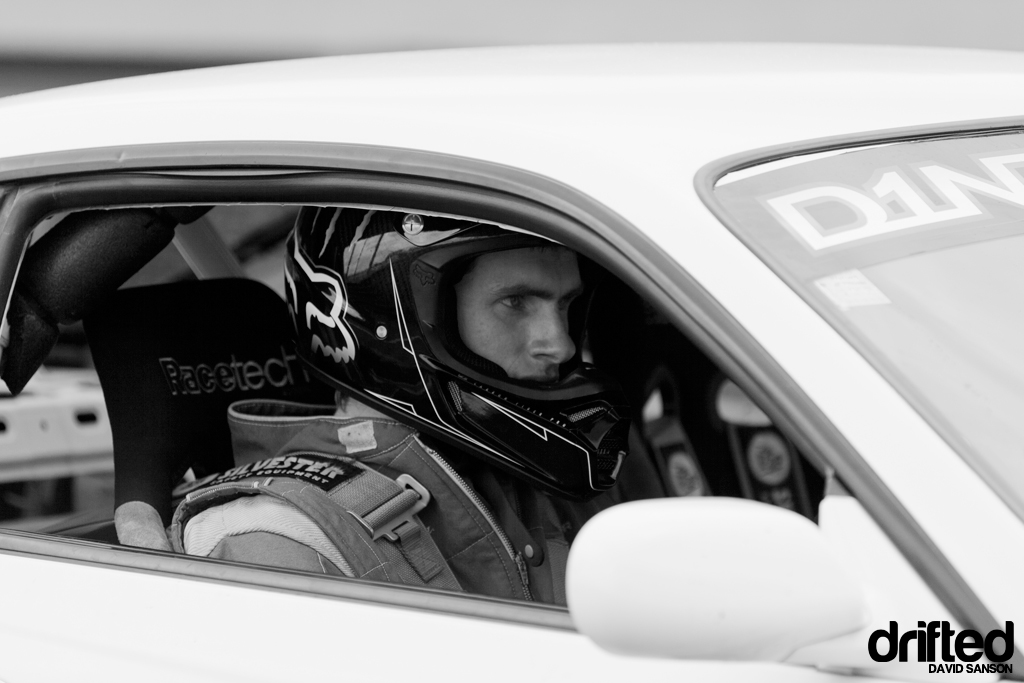
Some of the drivers remain focused throughout the day. D1NZ is the big league here.
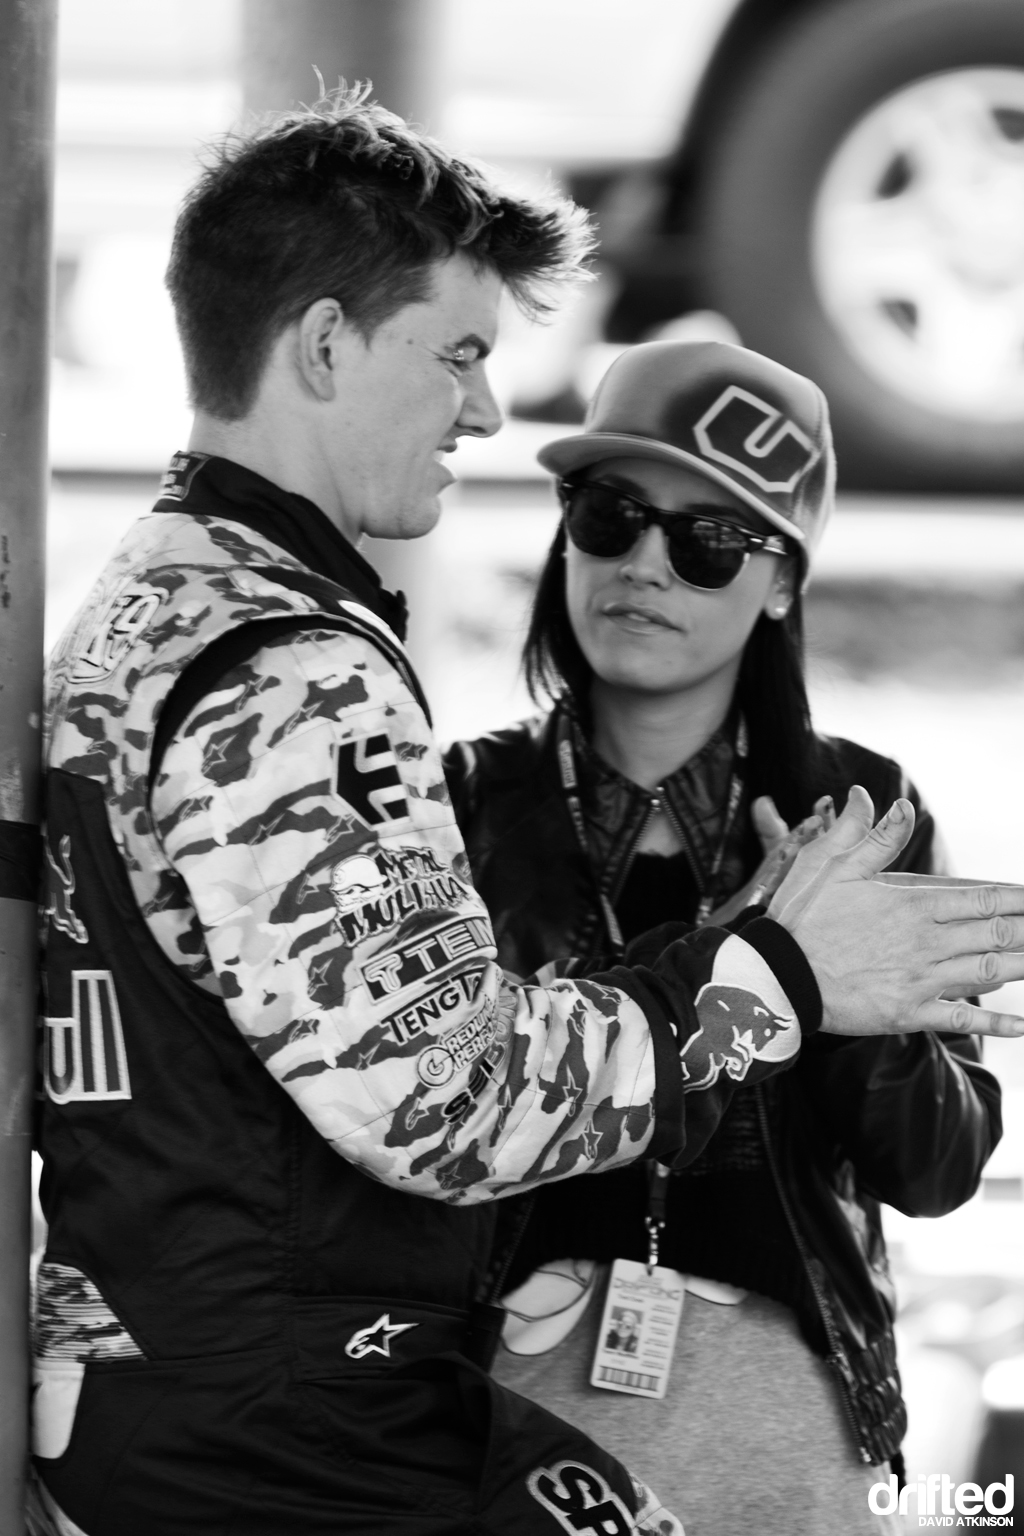
Mad Mike Whiddett discussing his plan of attack for the weekend.
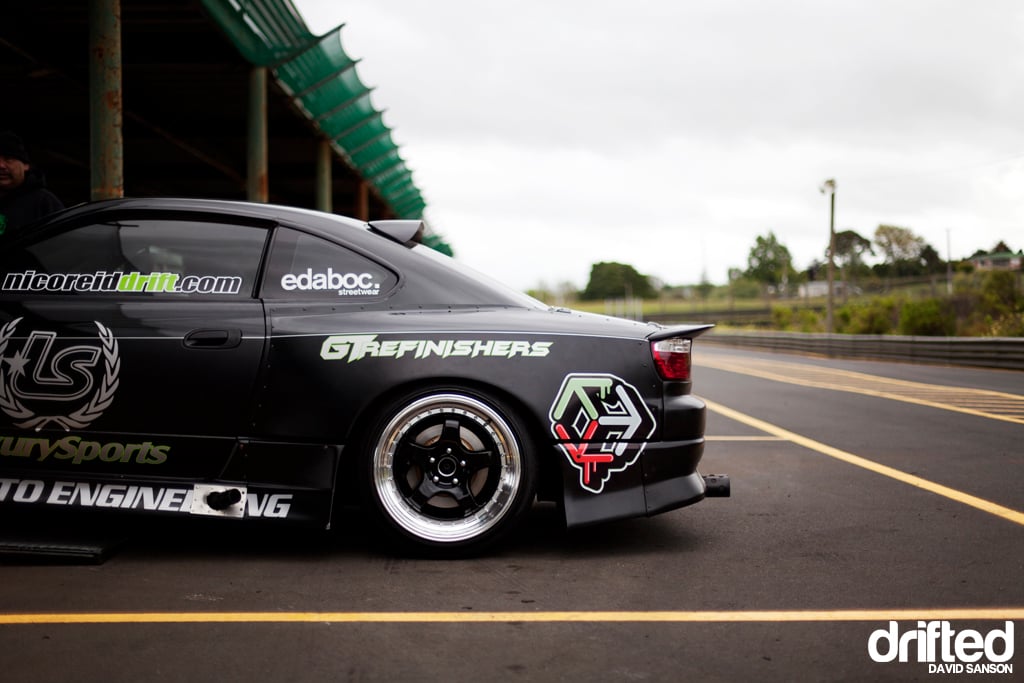
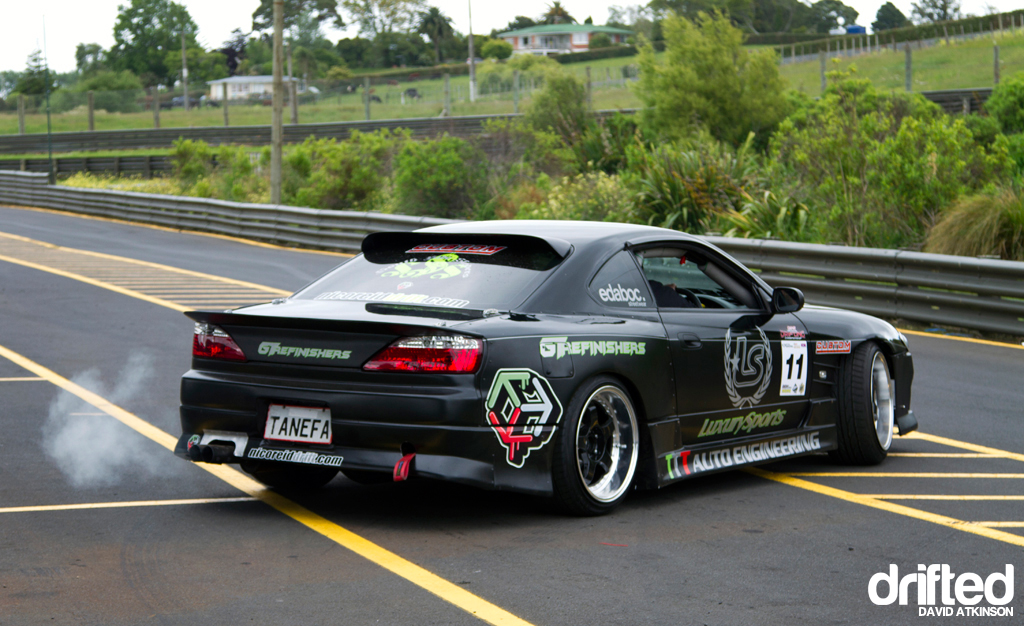
Nico Reid and his team brought out their new black on black Luxury Sports widebody S15.
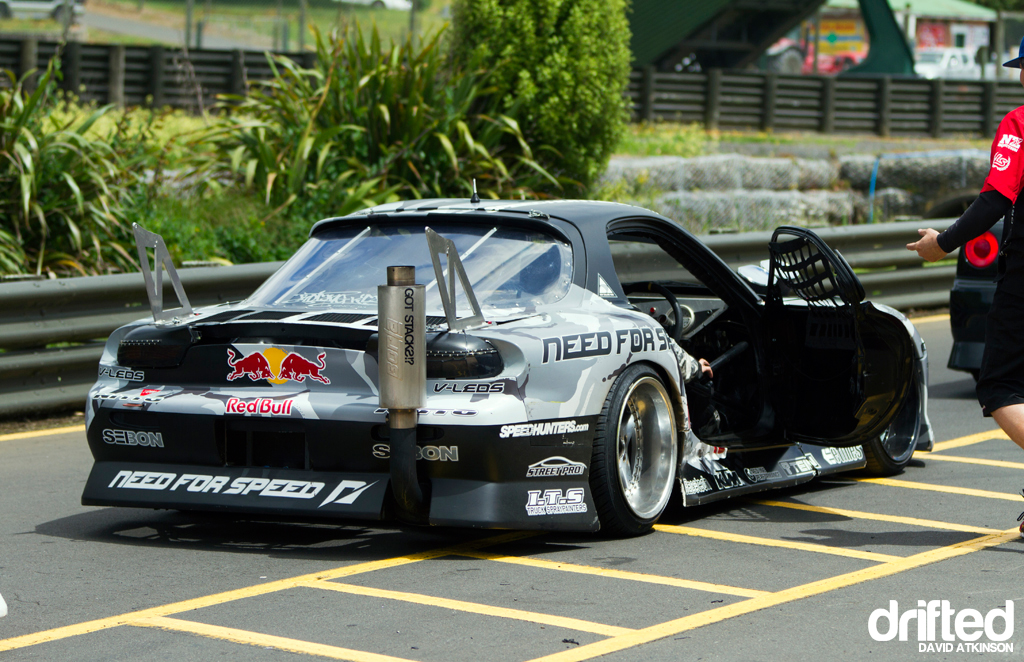
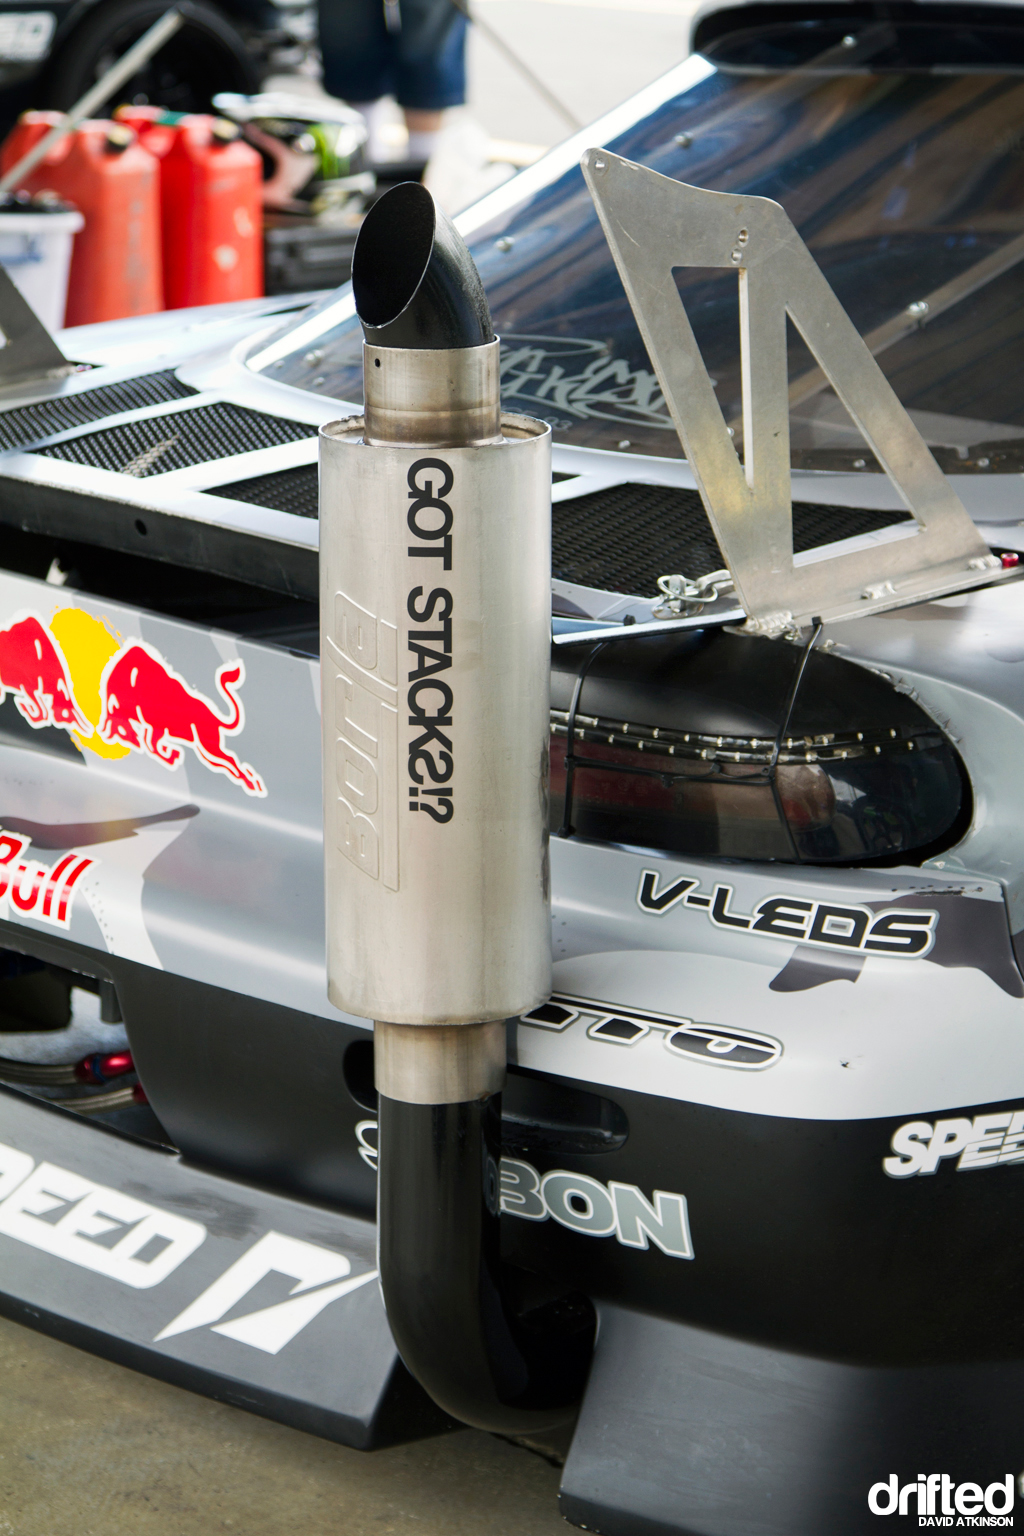
Due to noise restrictions, Mad Mike had to attach a large big rig style muffler to the back of his Red Bull RX7.
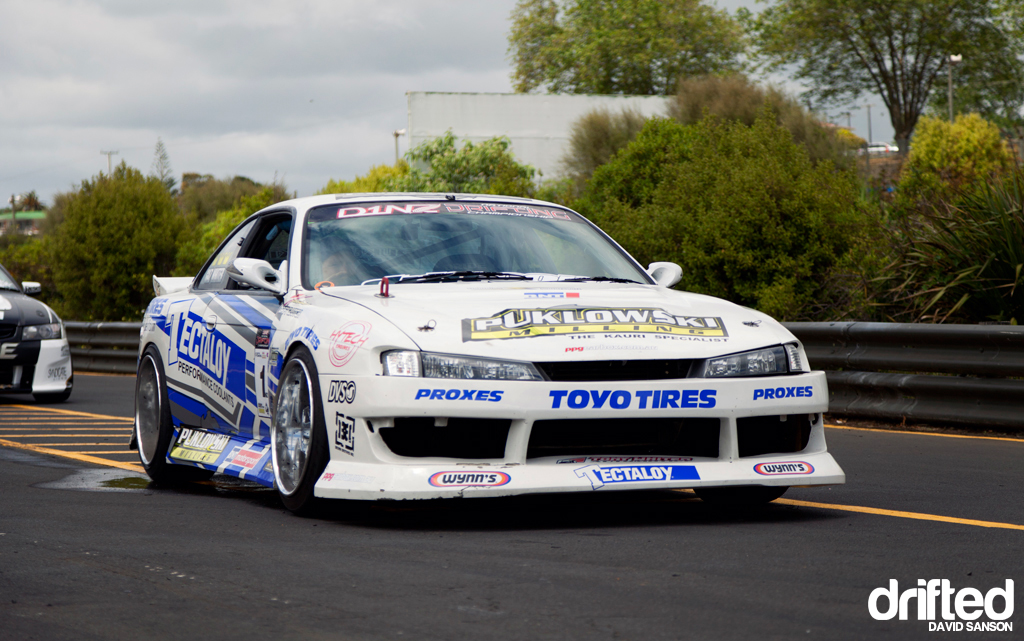
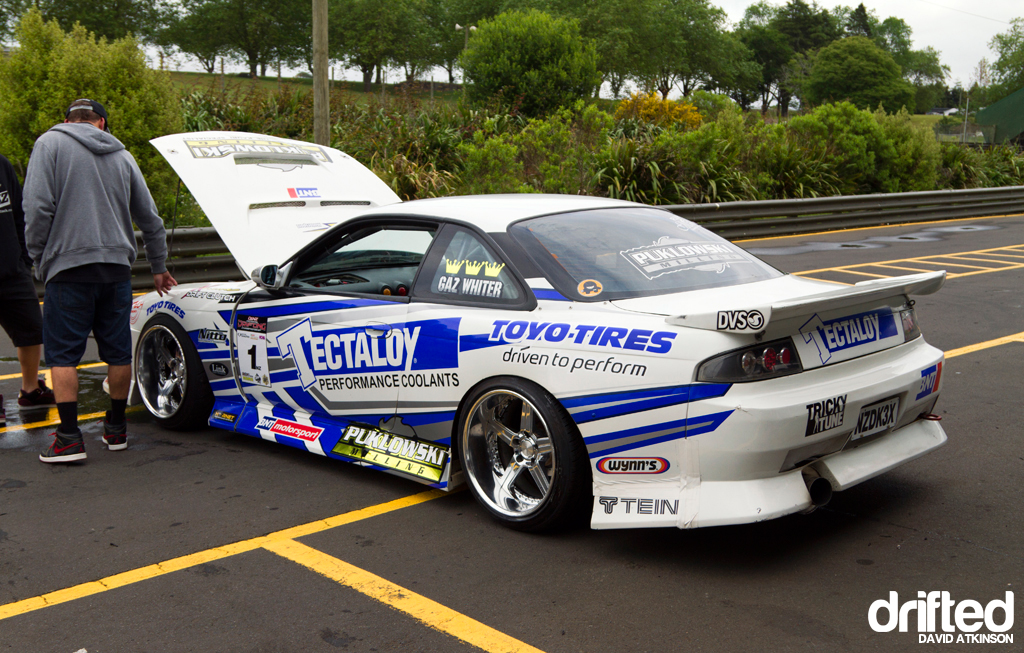
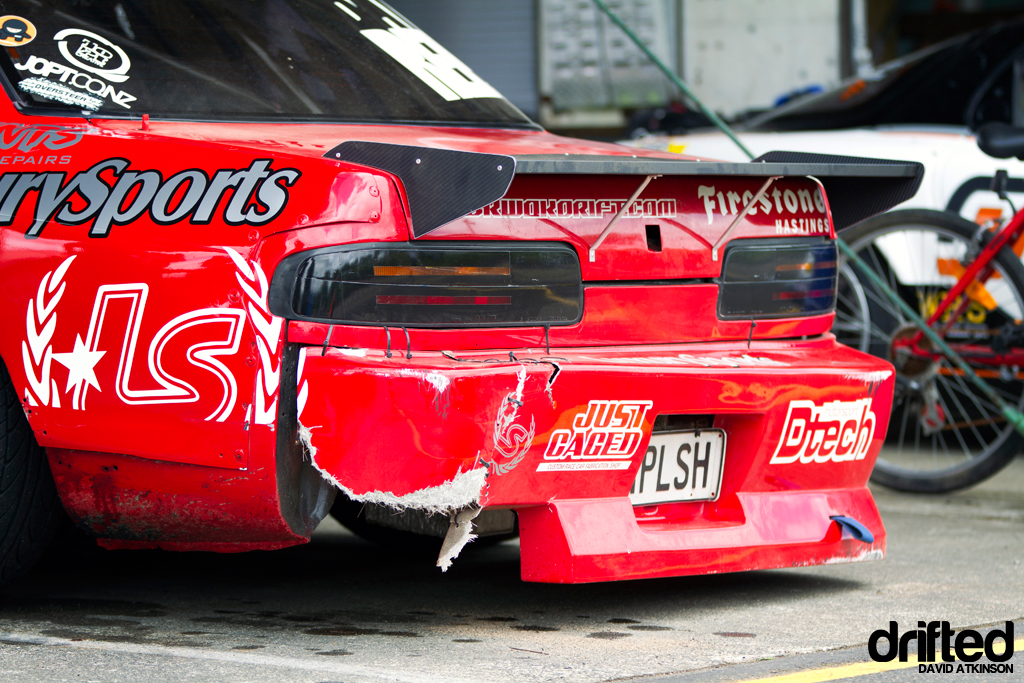
Here are some shots of Gaz Whiter’s Tectaloy S14 Silvia before his big crash into the barrier destroying the rear of the car.
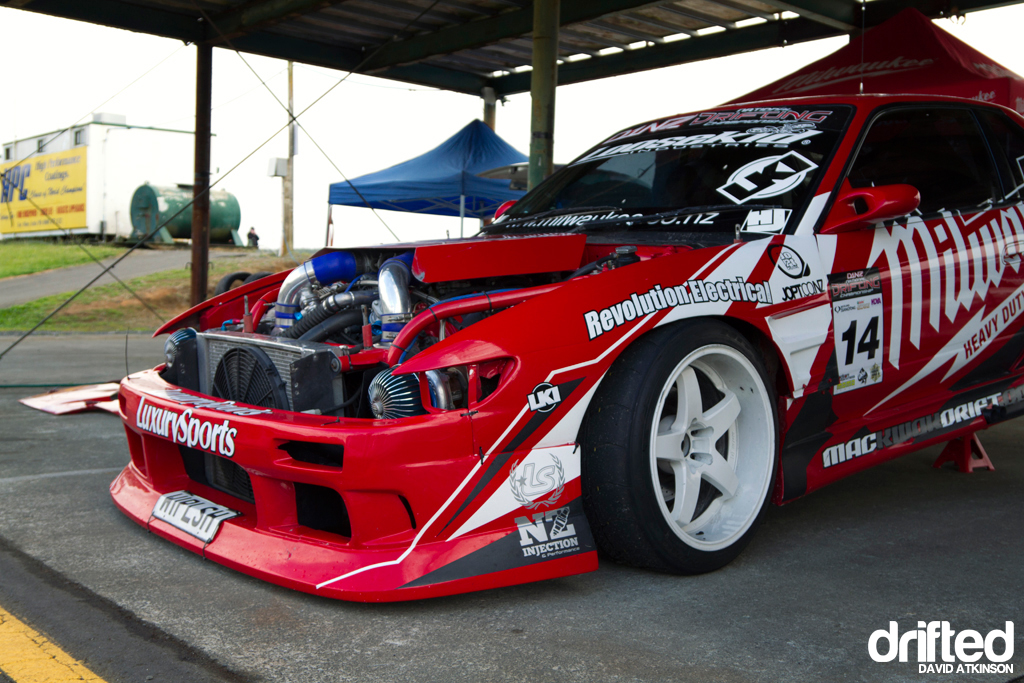
A Nissan VH41 V8 block with two cheeky turbos peers up out of this front of Mac Kwok’s Milwaukee S13.
Sporting some white D1R’s in the pit bay and a bit of battle damage. Unfortunately the team had steering problems later in the day.
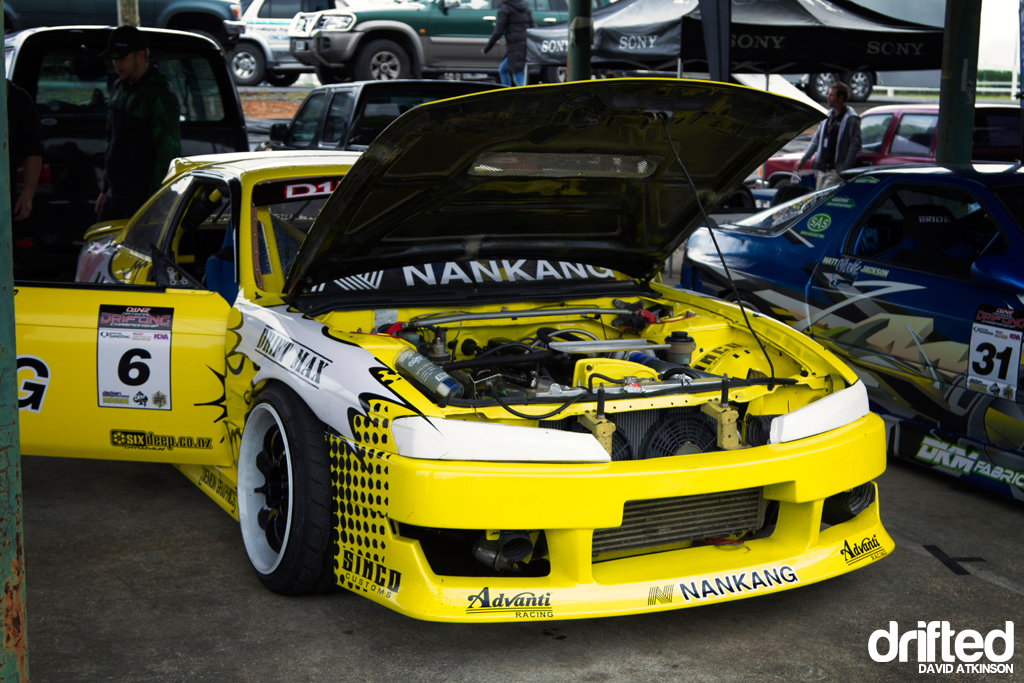
Andrew Redward’s Nankang S14 certainly stood out amongst the other cars in pit lane with it’s retina-blasting yellow paint.
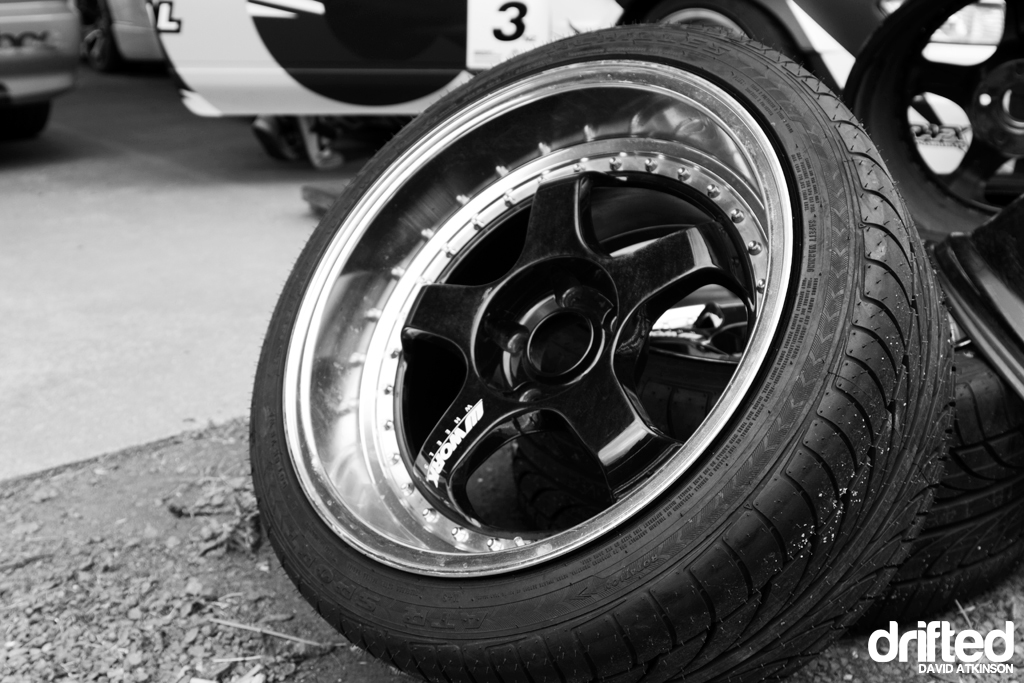
There was no shortage of wheels in the Achilles S13 pit area. Gotta love a Meister.
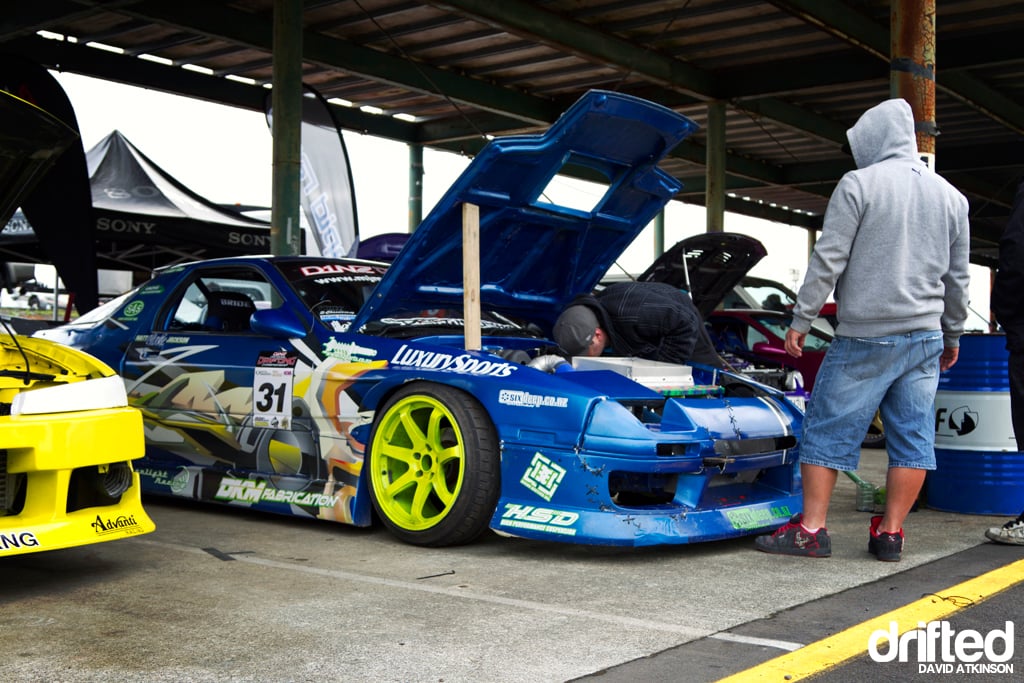
A classic example of Kiwi ingenuity while working on Matt Jackson’s RX7 FC.
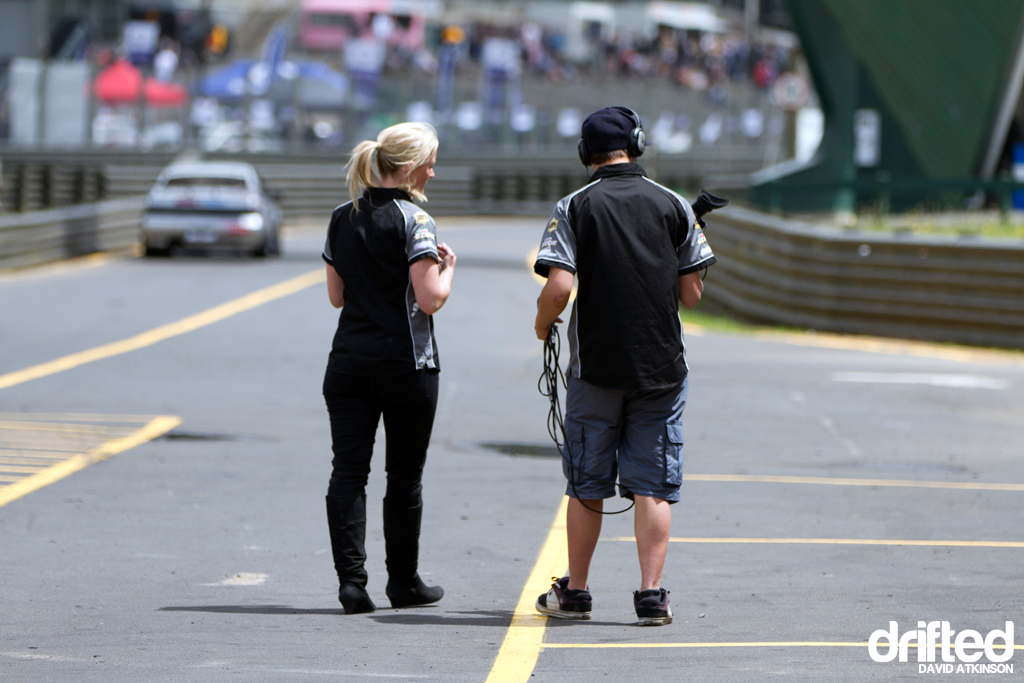
D1NZ cameraman Kenny Ruddell and presenter Kendyl Coleman walking down pit straight.
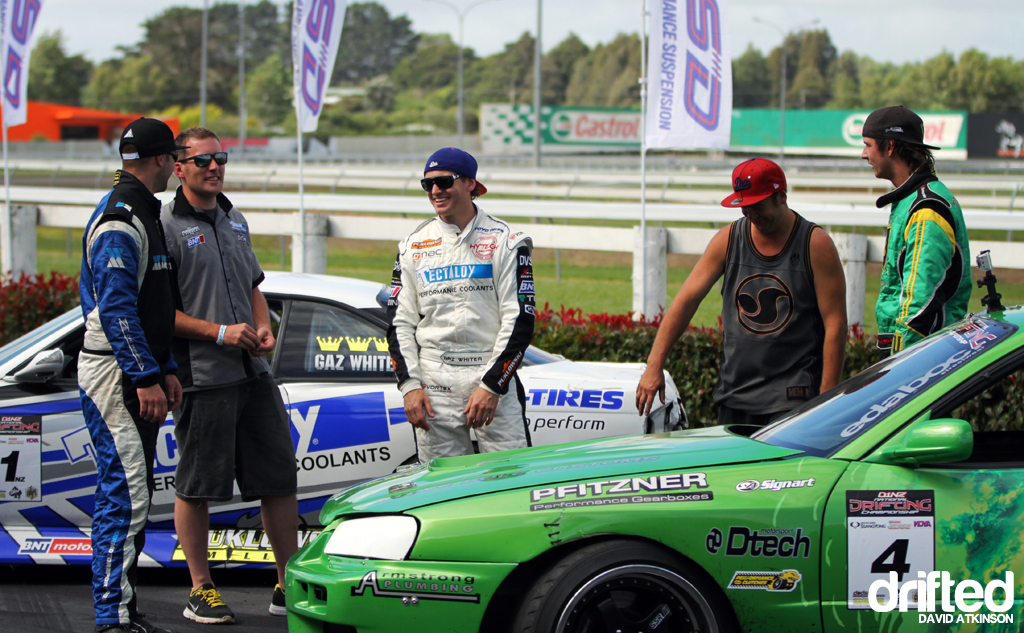
The top placing drivers of the day having a chat before prize giving.
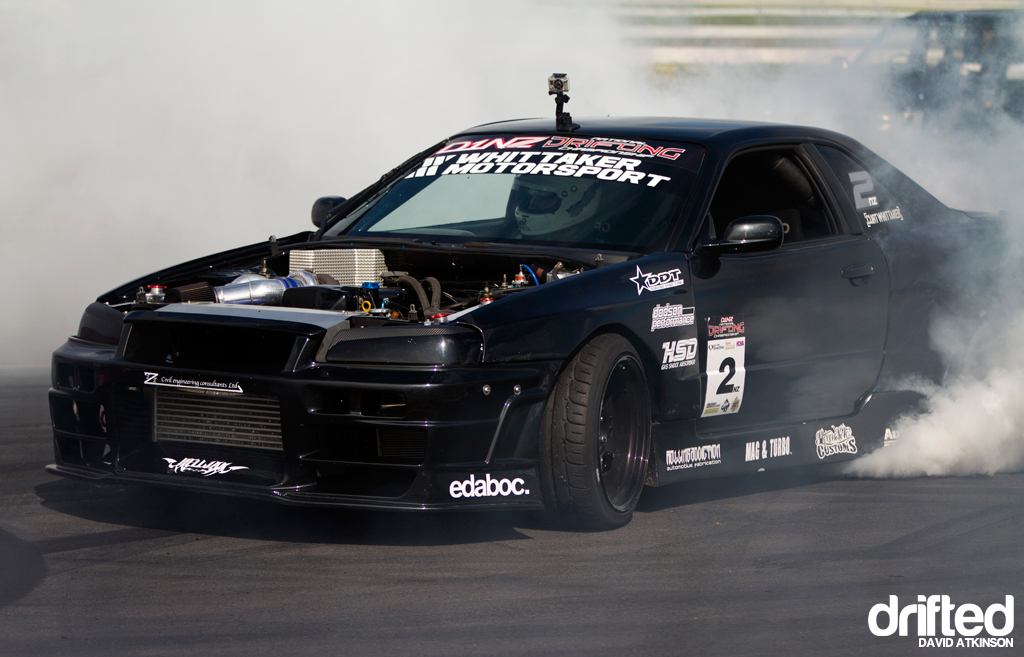
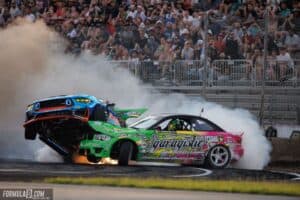
Winner on the day Curt Whittaker destroying another set of tires for the crowd during his victory skids.
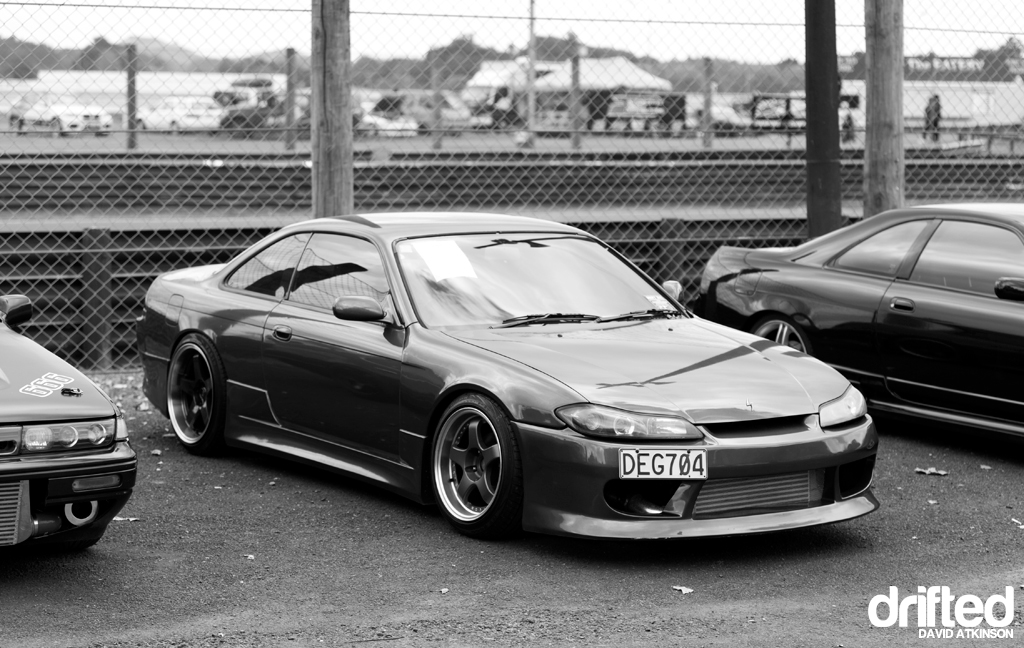
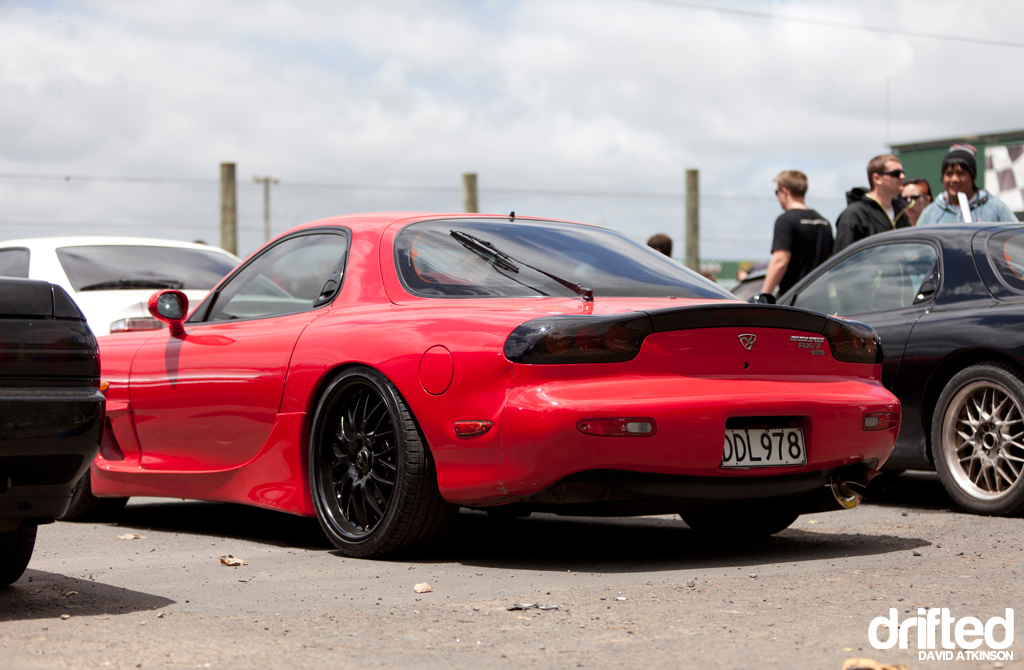
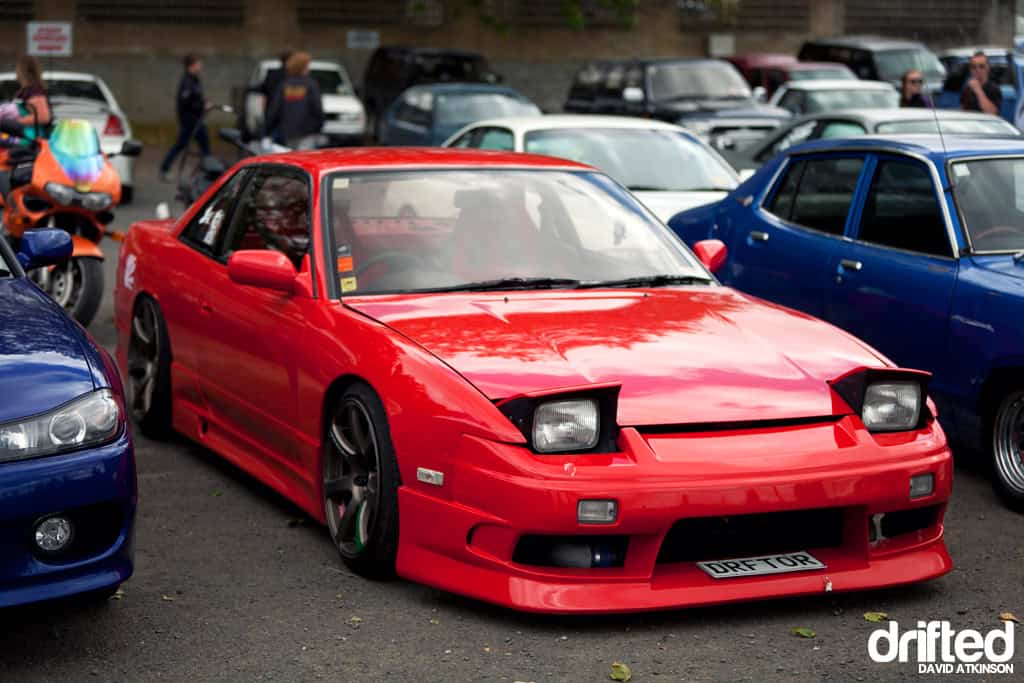
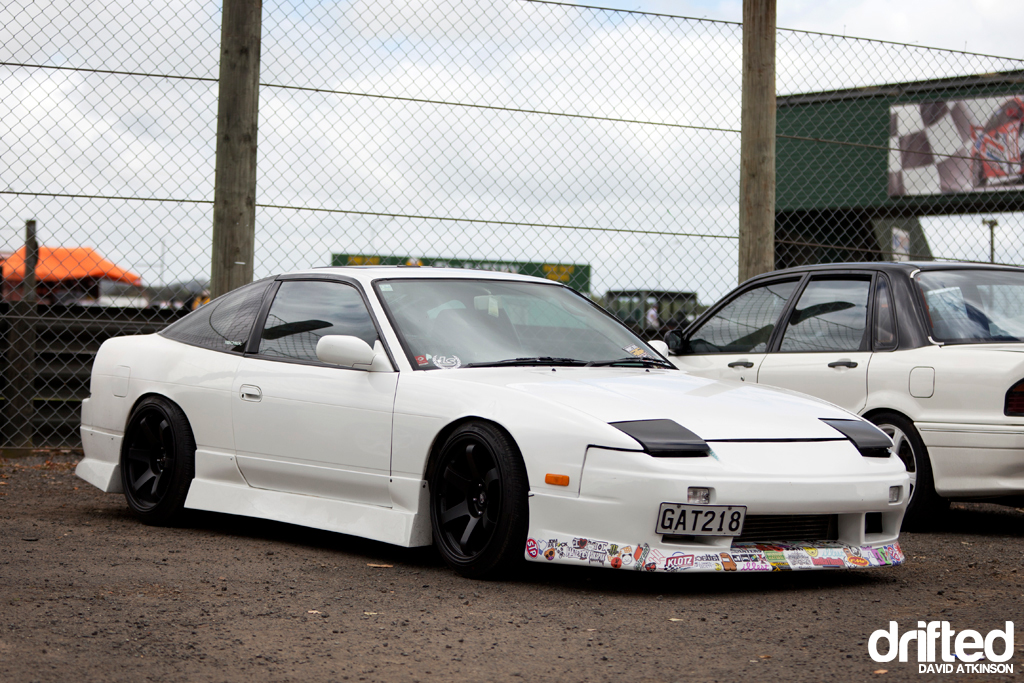
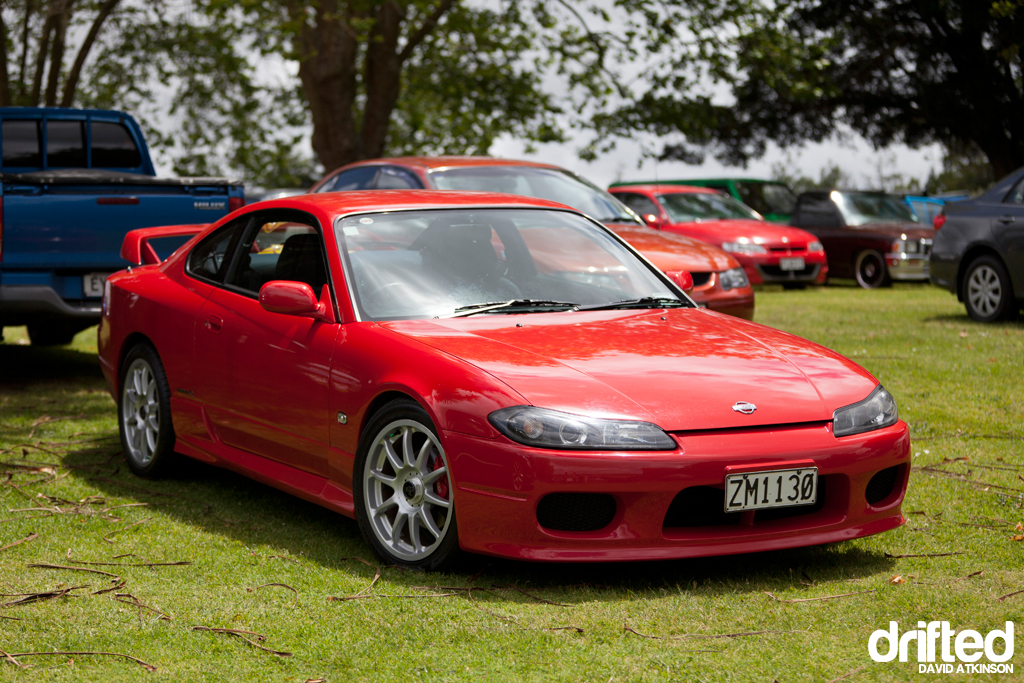
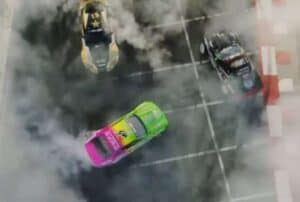
We’ll leave you with some shots from the spectator carpark. Check back soon for D1NZ Round 3 coverage from Taupo Motorsport Park!
Words – David Atkinson

