EVENT: Cody’s D1NZ 2013 Round Two
It’s been far too long since I last got out amongst some drifting, over half a year in fact. Tuning in to online coverage of overseas events has been great but there’s nothing quite like attending an event yourself and taking in the atmosphere on offer. That’s why I was looking forward to Round 2 of the Cody’s D1NZ Championship held in Whangarei on a new custom built track, with many rebuilt and redesigned cars for the 2012/2013 season.
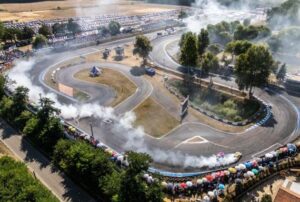
After a long drive North to Whangarei we arrived to check out the track. Held at a local Toll logistics depot, the circuit was very similar to the Mt Smart track from last season. A large right sweeper with outer clipping points opened up the course, switching into a tight left turn and finally another right clip for some wall hugging action.
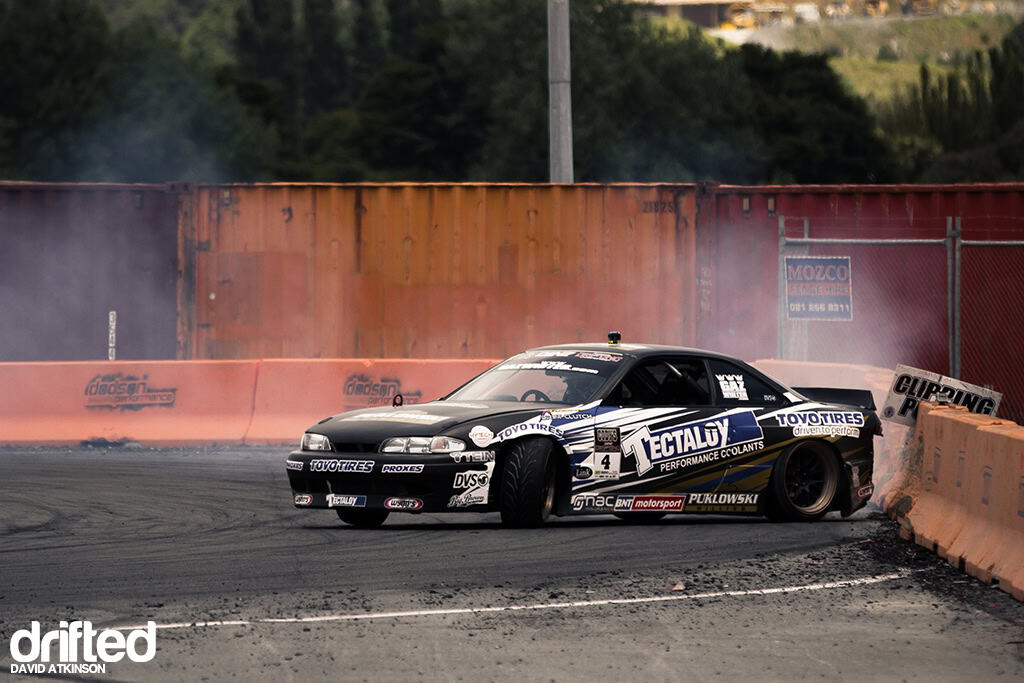
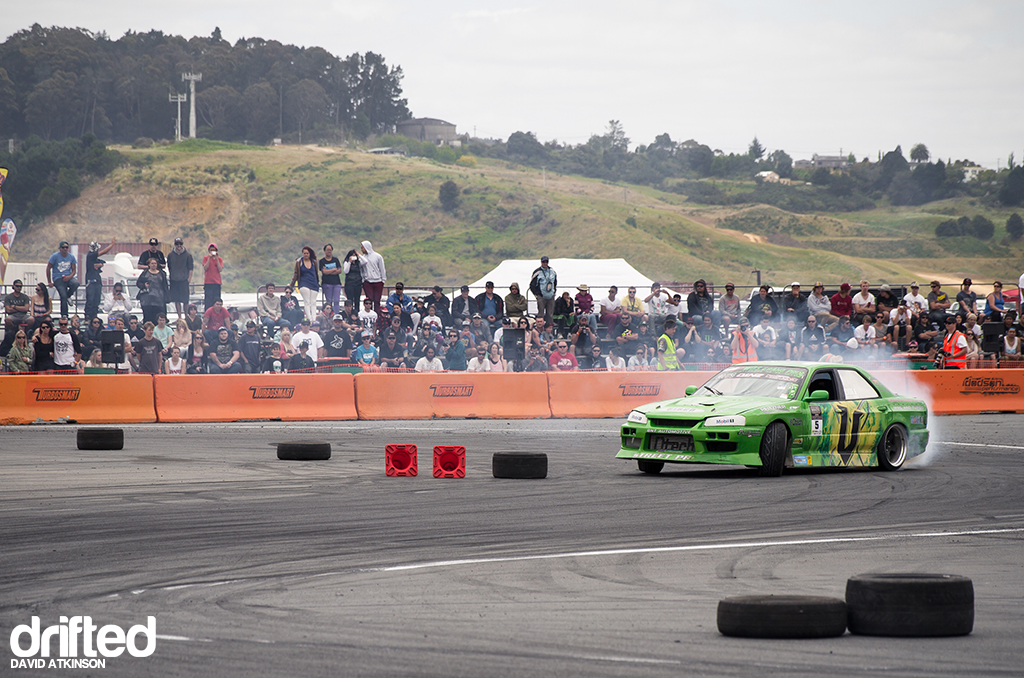
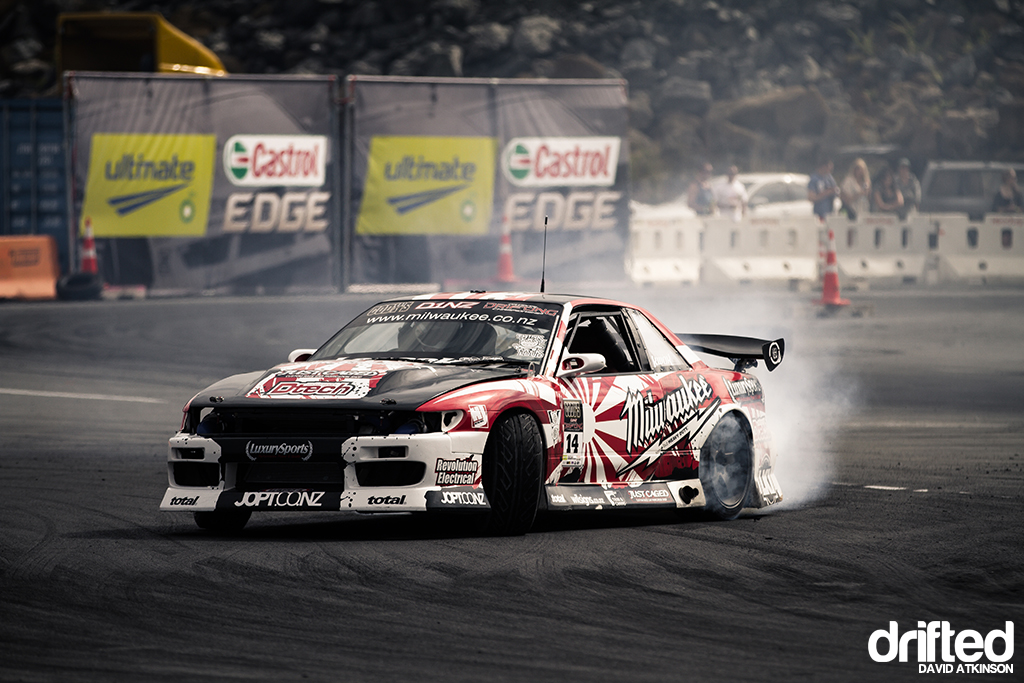
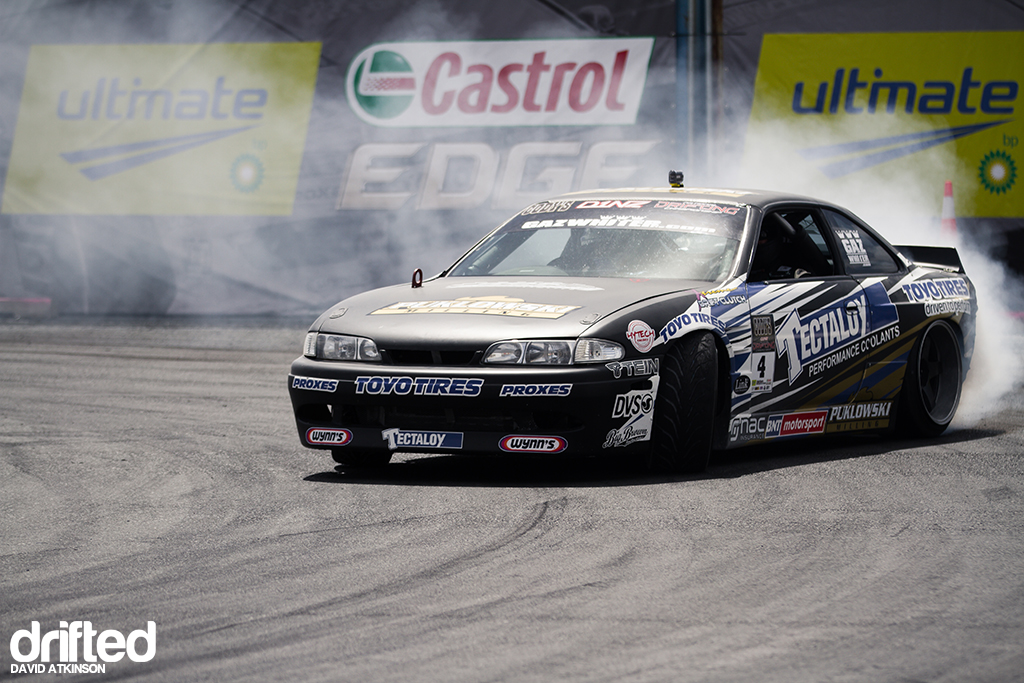
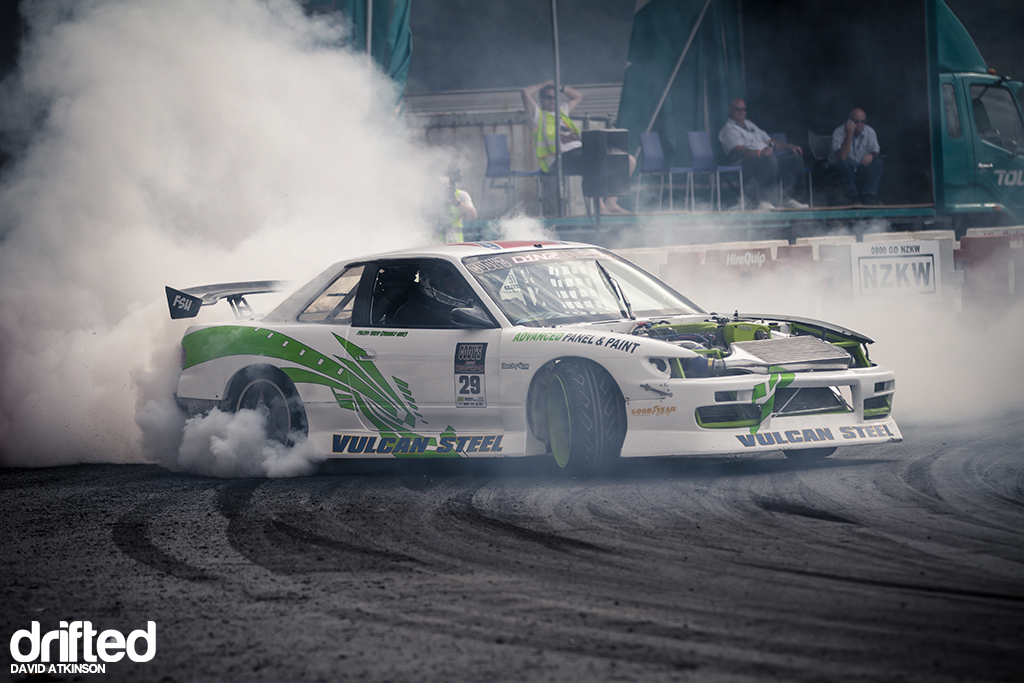
These concrete barriers didn’t look very forgiving and I could tell this spot on the second clip would wreak a lot of havoc for anyone that was too aggressive. Gaz Whiter made it look easy in his new LS2 powered zenki Silvia.
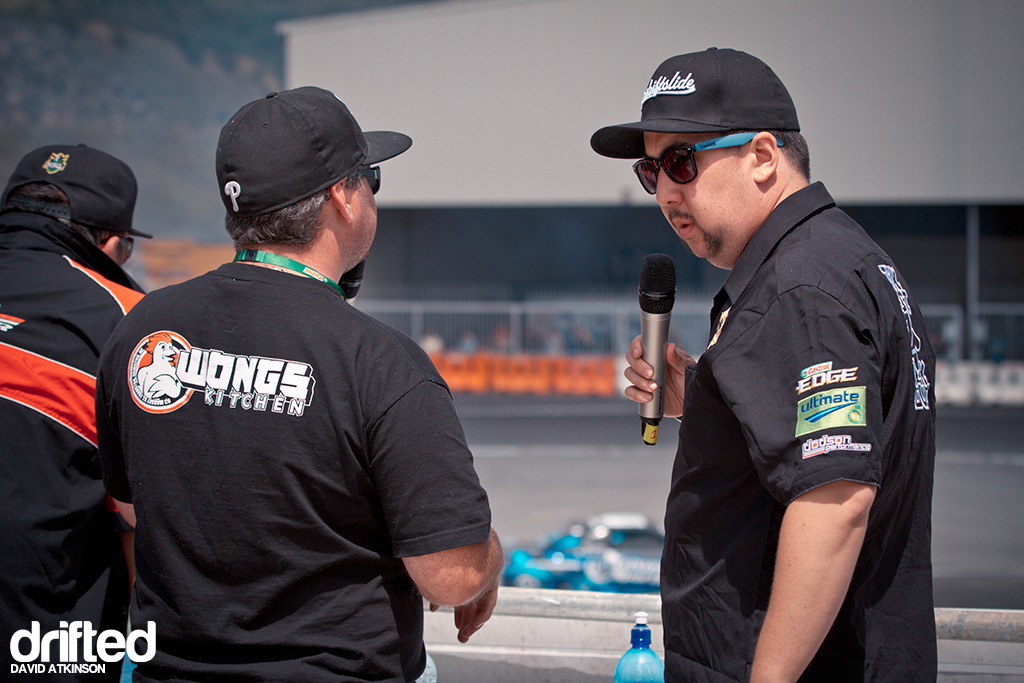
‘Mr Grumpy Ninja’ – Warren Sare was on hand in the judges tower calling the shots and entertaining the crowd. Check out the mo’ – Warren was raising money for the month of Movember.
Both the drivers and the photographers were thoroughly enjoying the small Whangarei circuit. A high quality surface and plenty of concrete walls to sweep the rear quarter along brought smiles all round.
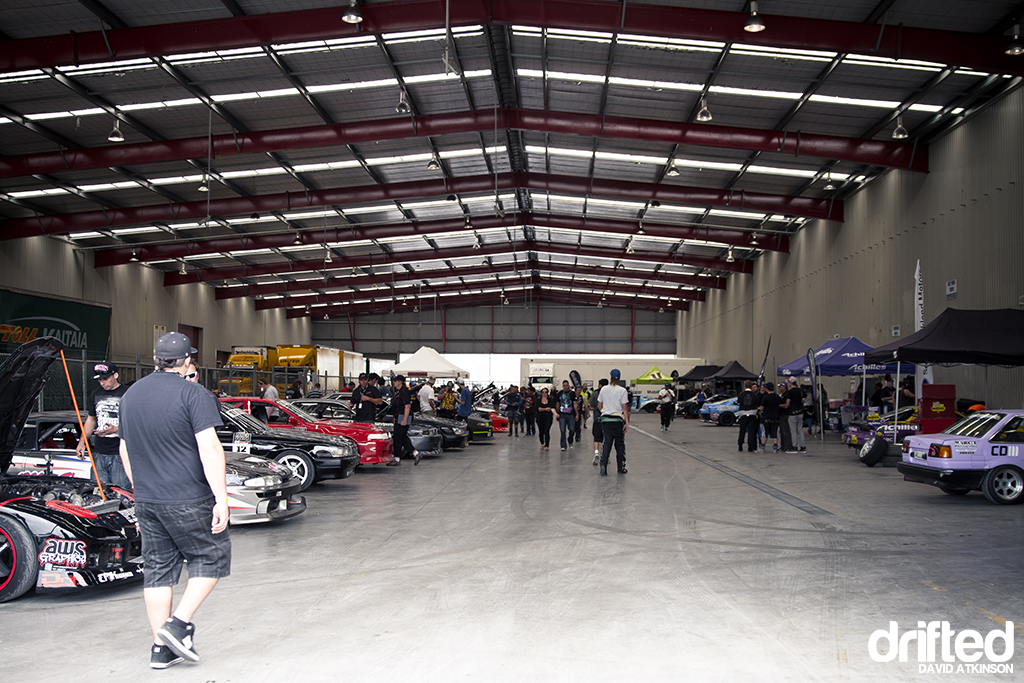
The pit area was held inside a large warehouse overlooking the track, with the cars lined up along each side. After walking all the way down I spotted…
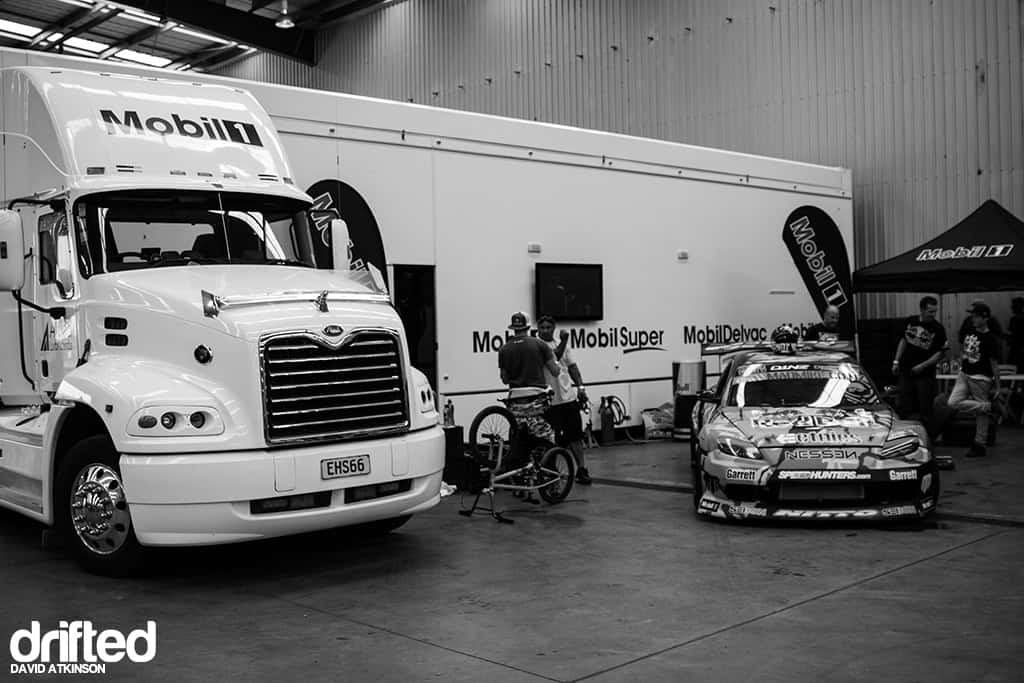
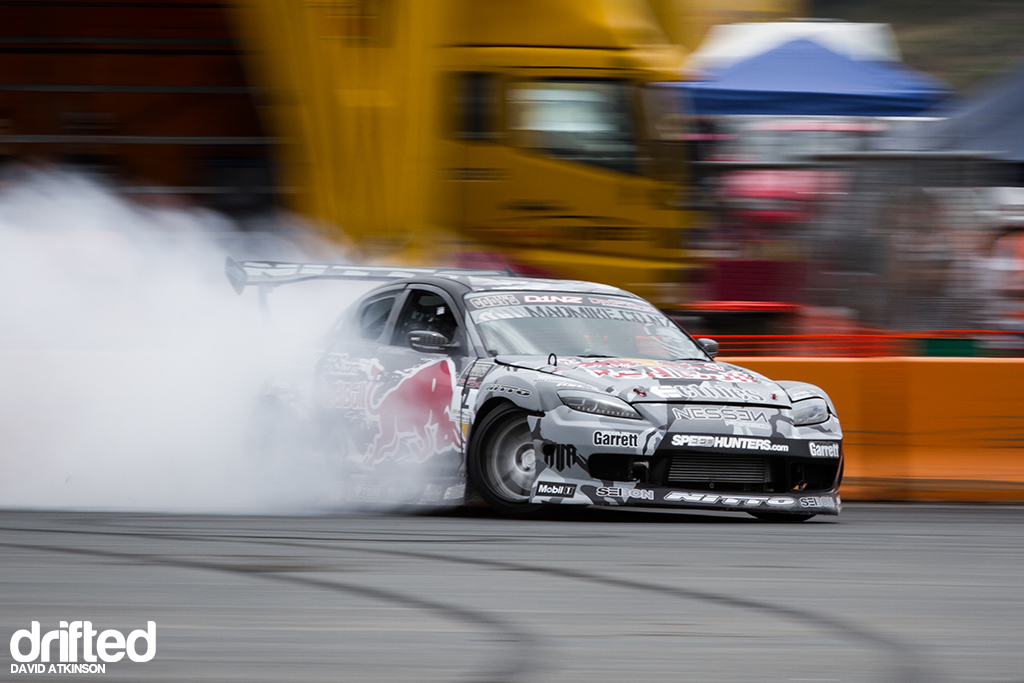
…Mad Mike’s huge truck (complete with side mounted TV) dwarfing the 3rotor ‘Badbul’ RX8. Definitely one of the coolest pit areas I’ve seen.
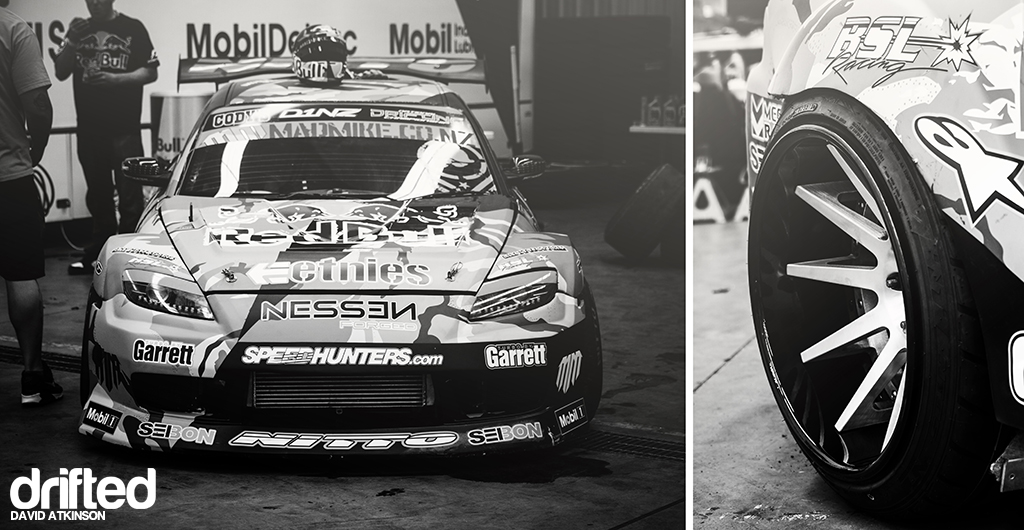
It’s great to see the RX8 back on NZ soil after it’s use in Formula D, especially with it’s updated looks to match the Madbul RX7. Those Nessen wheels with gloss black lip and polished centers look pretty epic on the car – earning many long stares over the weekend.
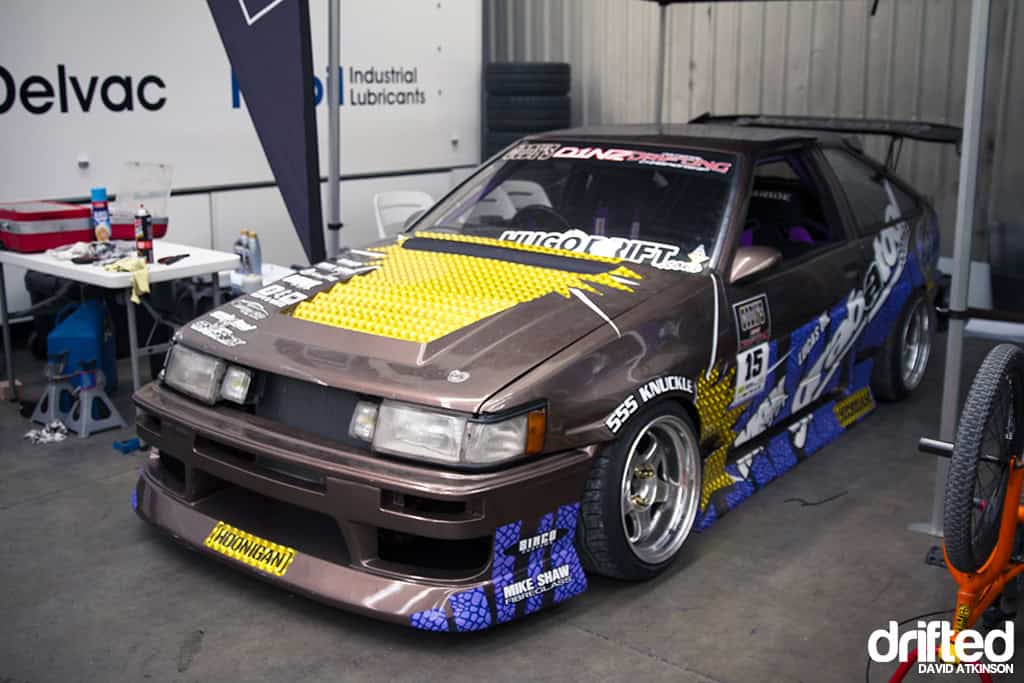
Sitting near Mikes truck I found Hugo Maclean’s Grabatool AE86. The famous brown Corolla is now powered by a 20B PP engine. Unfortunately it was giving Hugo problems all weekend and he had to withdraw from the battles.
Smaller tracks like these are great for spectators because you get a great view of the cars no matter where you happen to be standing.
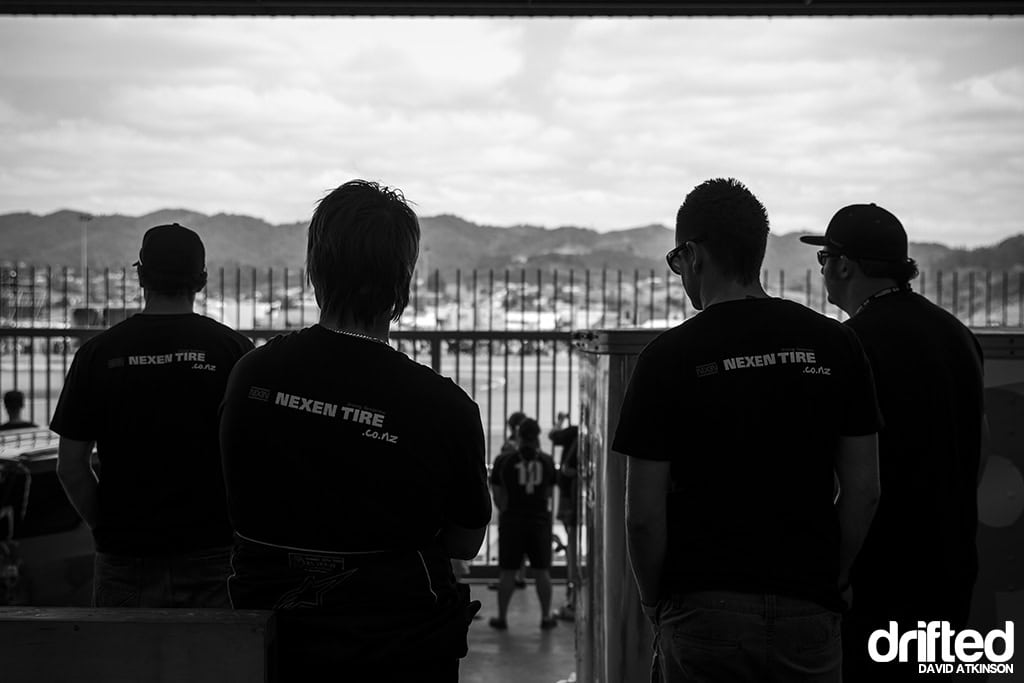
Even the teams had a good view of the track from inside the pit area. No doubt they were a bit anxious about all the concrete walls out there!
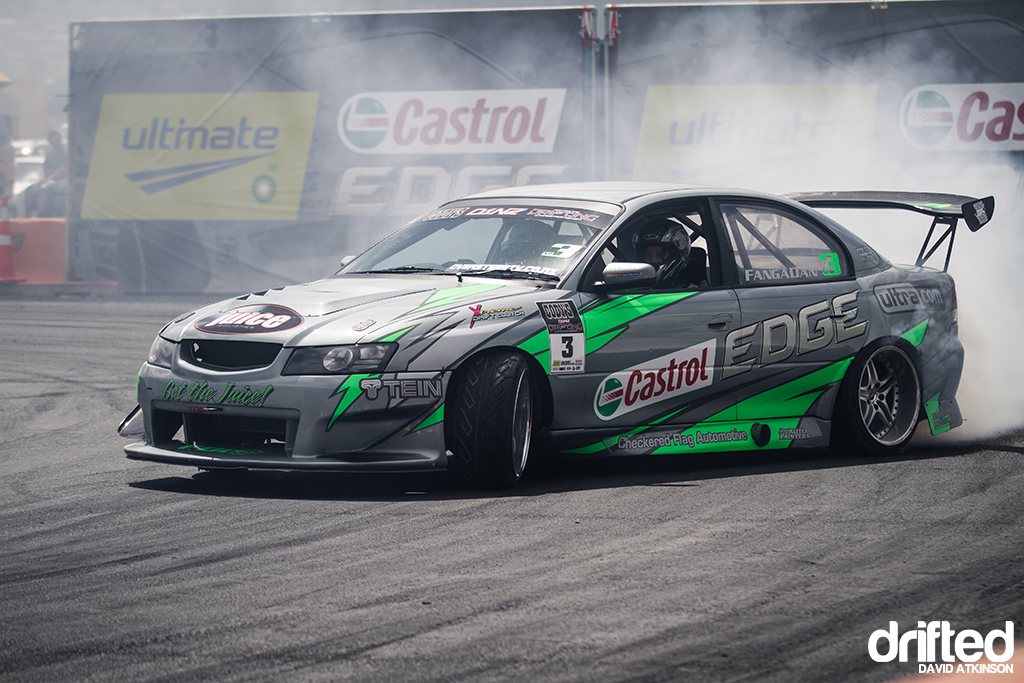
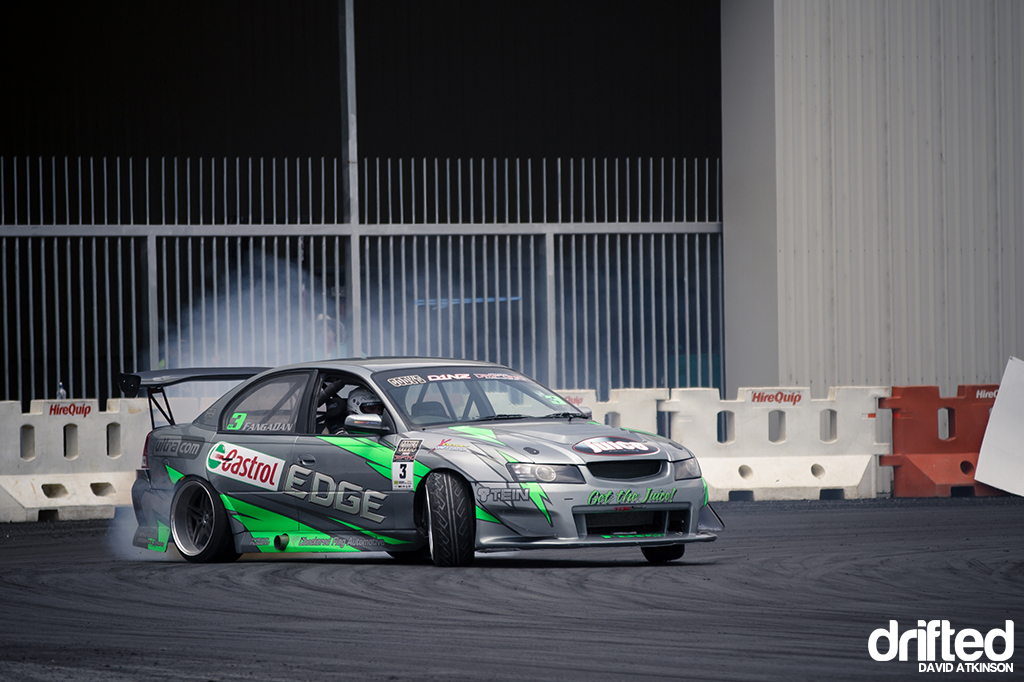
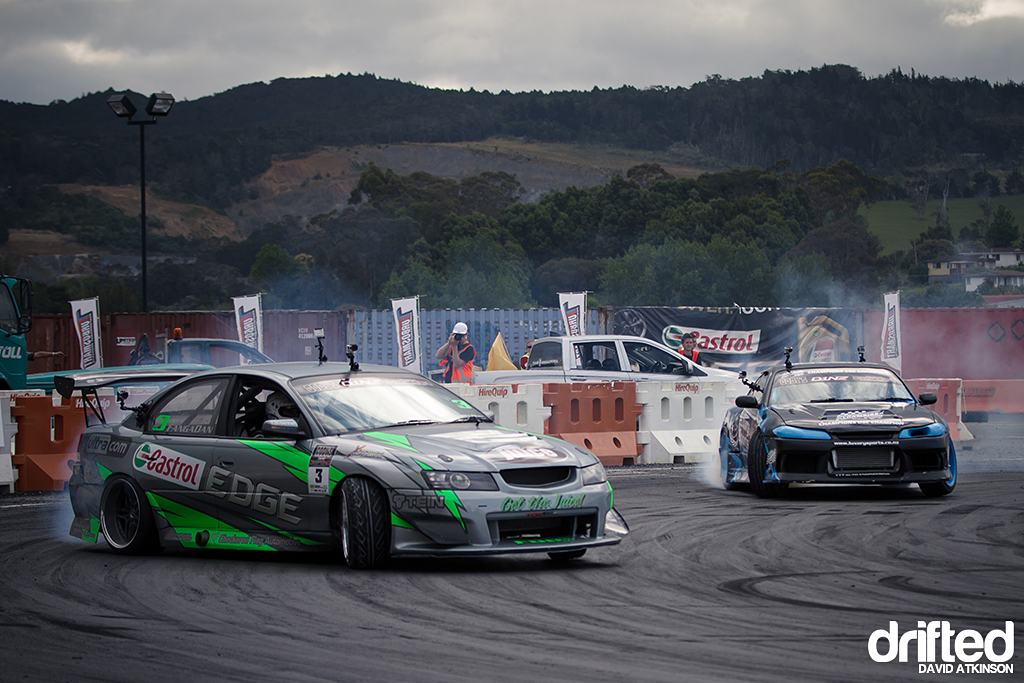
Local Whangarei drifter Fanga Dan was busy in the off season updating the LS2 Holden Commodore. A new silver and green graphics combo looked awesome sliding around the track. Many taillights needed replacing after running the wall in qualifying – earning him the #1 spot.
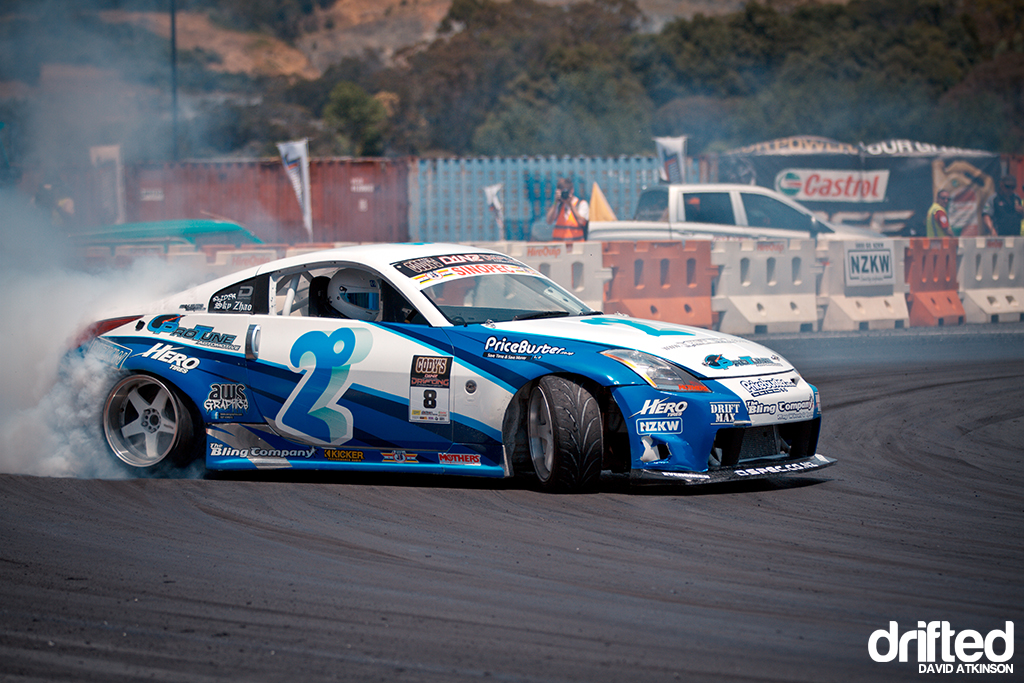
I had been looking forward to checking out Sky Zhao’s new 2 Degrees 350z. With a 5.7L V8 under the hood the Z had no trouble shredding some tires all day. We’ll be taking a closer look at this car soon in a full feature.
I’m not sure exactly what modifications have been made to Mac Kwok’s S13, but they sure look like they paid off. Mac was pushing hard in qualifying and earned 8th spot.
Cole Armstrong was running nice and wide all day in practice and qualified in 10th position on Sunday. Taken out by Drew Donovan in the LS Silvia no doubt a bit earlier than he would have liked.
I was expecting Mad Mike to bring the smaller RX7 for this tight-knit course, but seeing the RX8 out there was a pleasant surprise. A gearbox breakage effectively took Mike out of the running for battles, however he was still able to qualify with only one working gear.
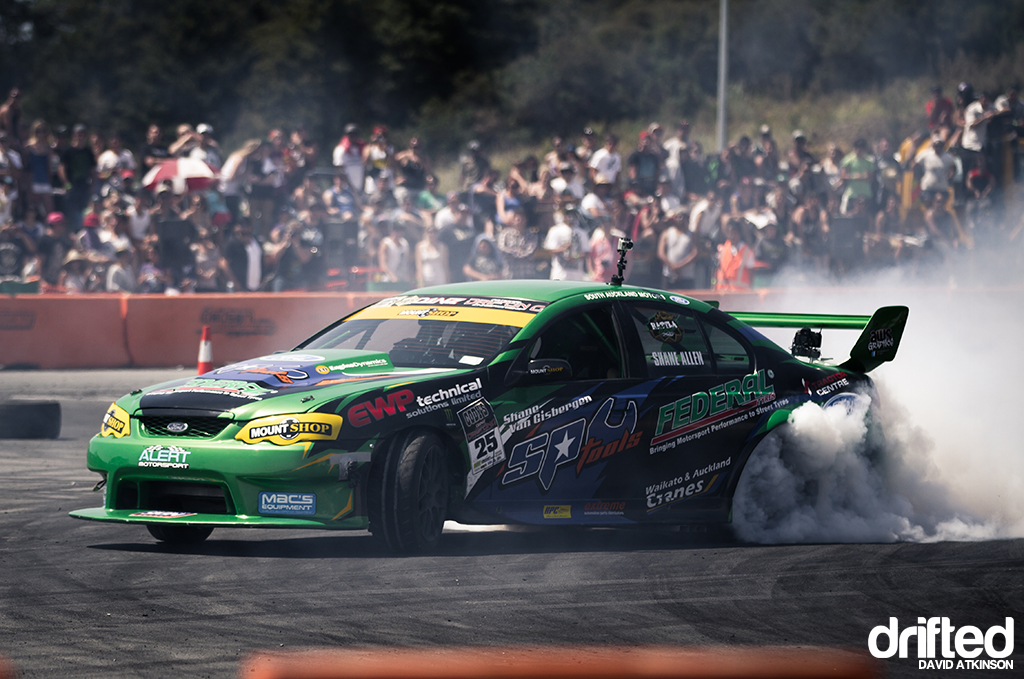
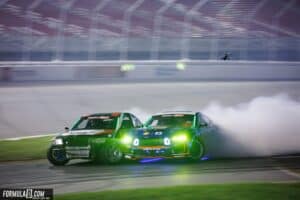
The big green Ford Falcon driven by Shane Allen produces nearly 800 horsepower and more than enough torque to fill the air with smoke pretty quickly. However the tighter track meant Shane couldn’t be on the gas as often, making it harder on chase runs.
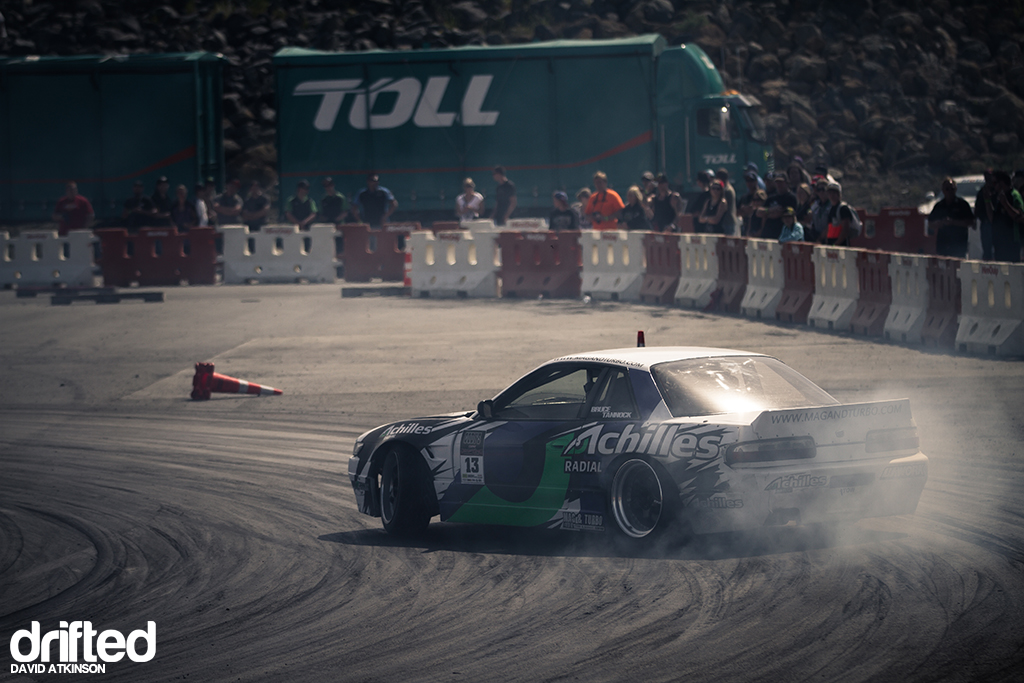
Rocket Bunny Bruce Tannock was having a tough time with some of the tight turns in the track and was later eliminated to Bradley Lauder.
Gaz Whiter’s new V8 engine was giving him no trouble, hitting each clipping point with astounding accuracy. He entered the battles with the number 2 qualifying spot.
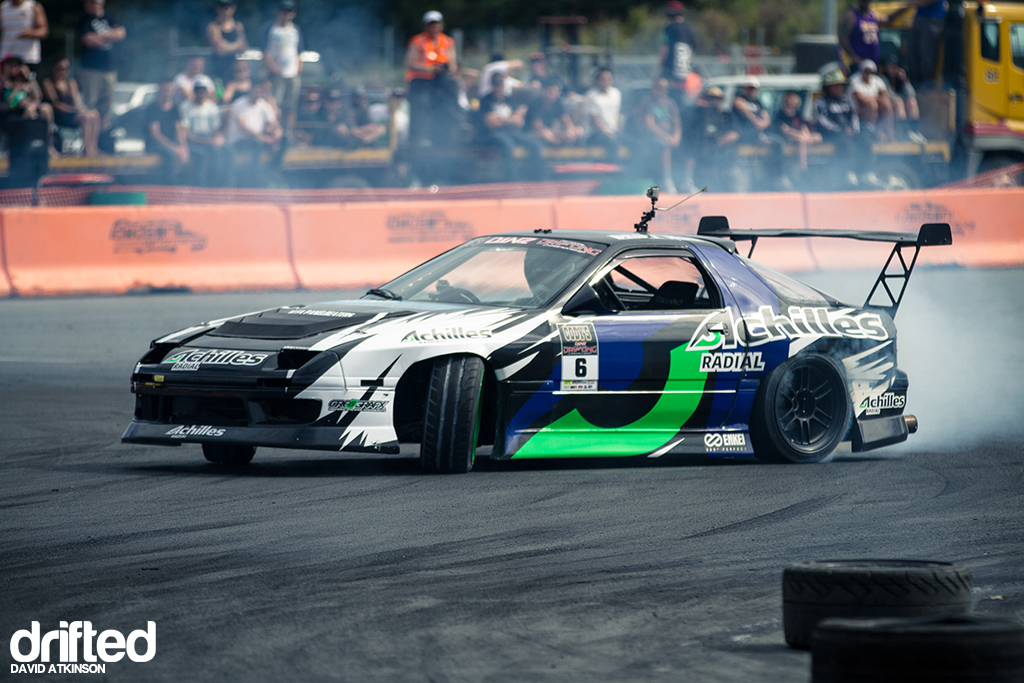
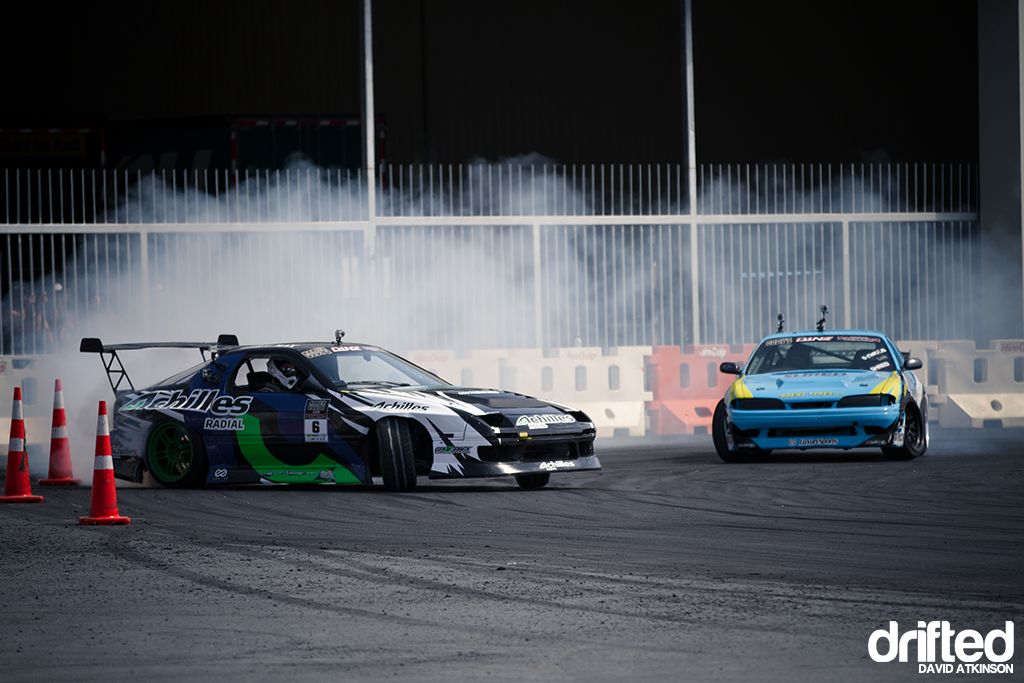
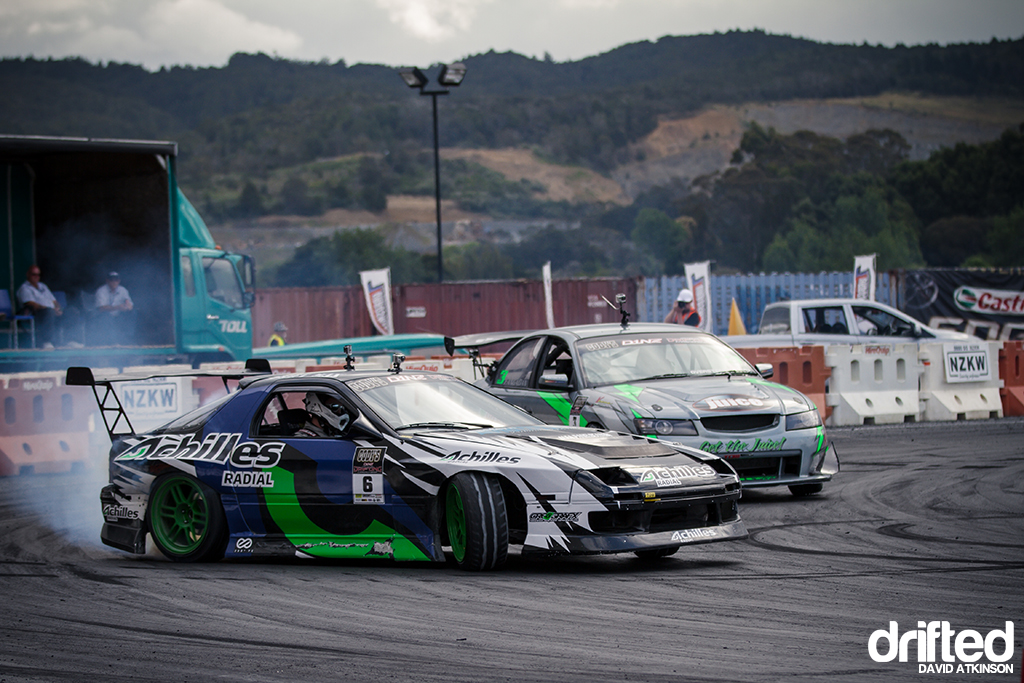
Another V8 to enter the field – Team Achilles Radial driver Andrew Redward looked comfortable in the RX7 having driven the S-chassis last season.
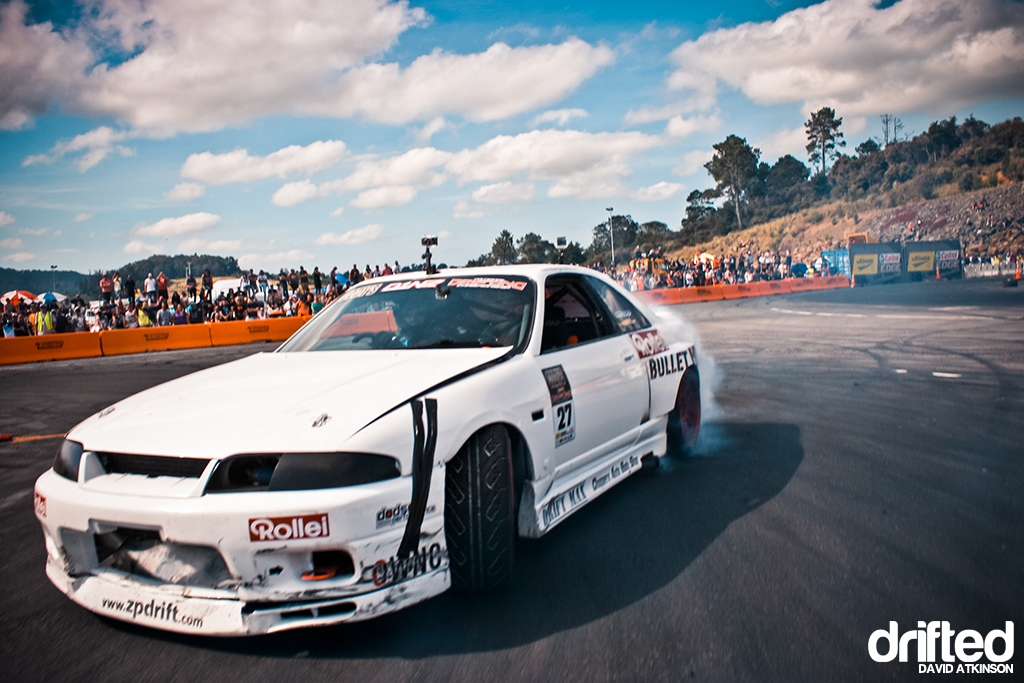
Zak Pole was on form in his R33 eliminating Mad Mike Whiddett in the top 32 who had been unable to get the RX8 back to full working order.
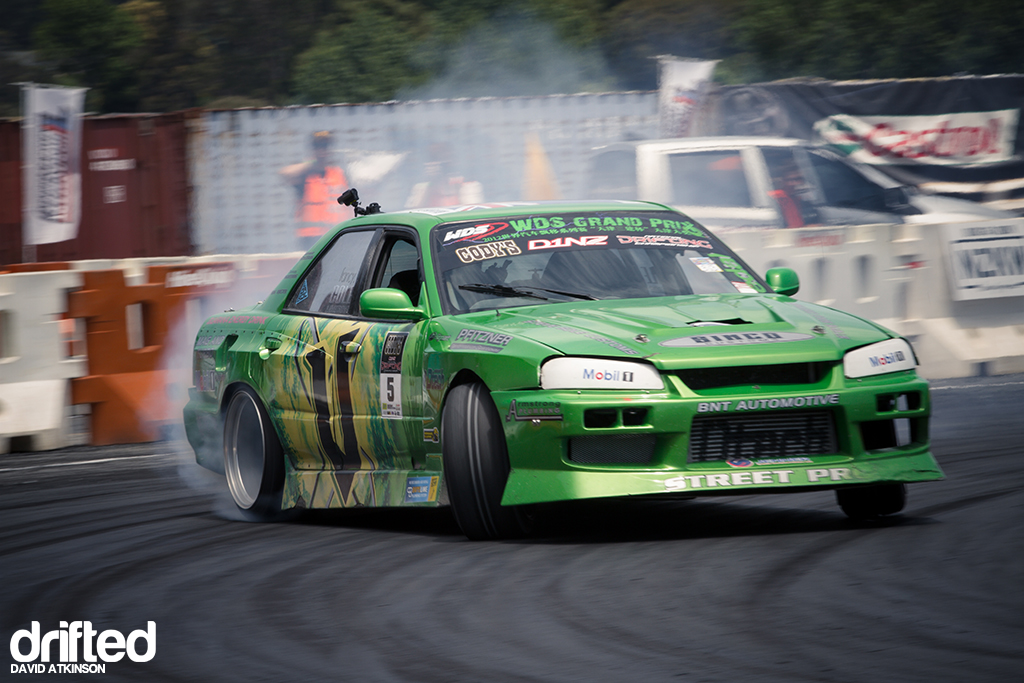
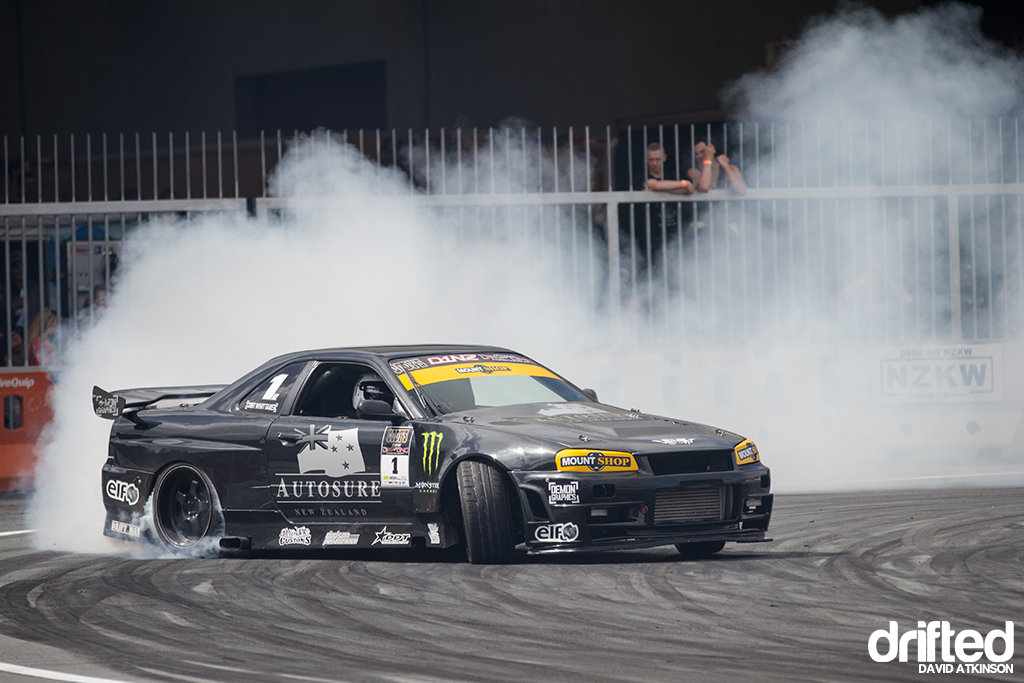
Curt Whittaker’s Autosure R34 is always one of the best smoke machines out there – showing the crowd why he is the current DK.
The judges tower provided a good view of the cars as they initiated into the first corner, cutting across to the second clipping point.
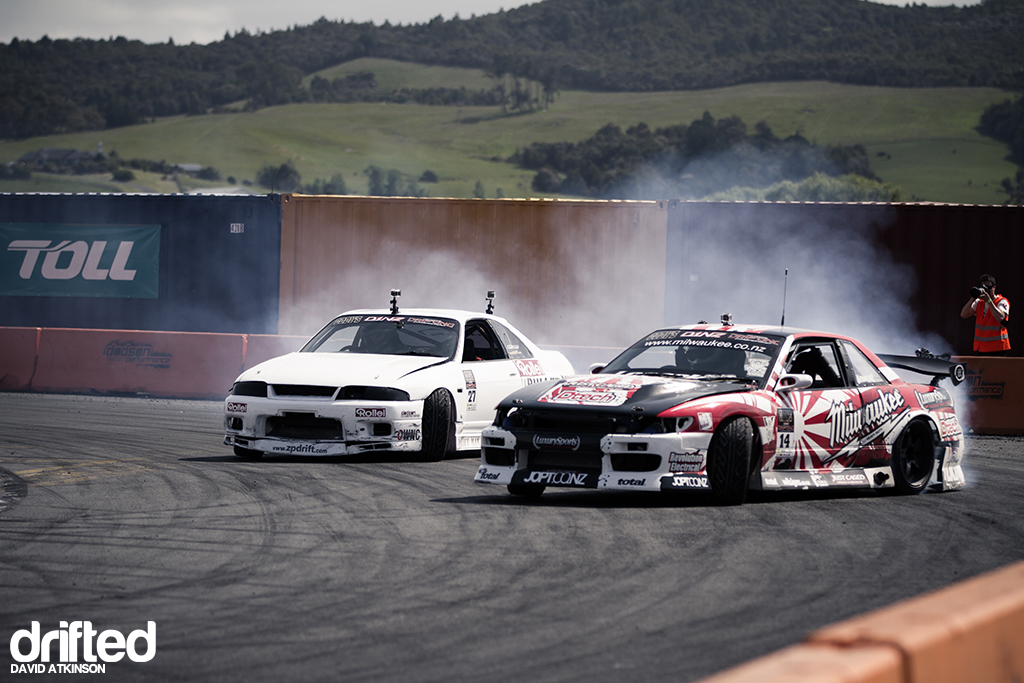
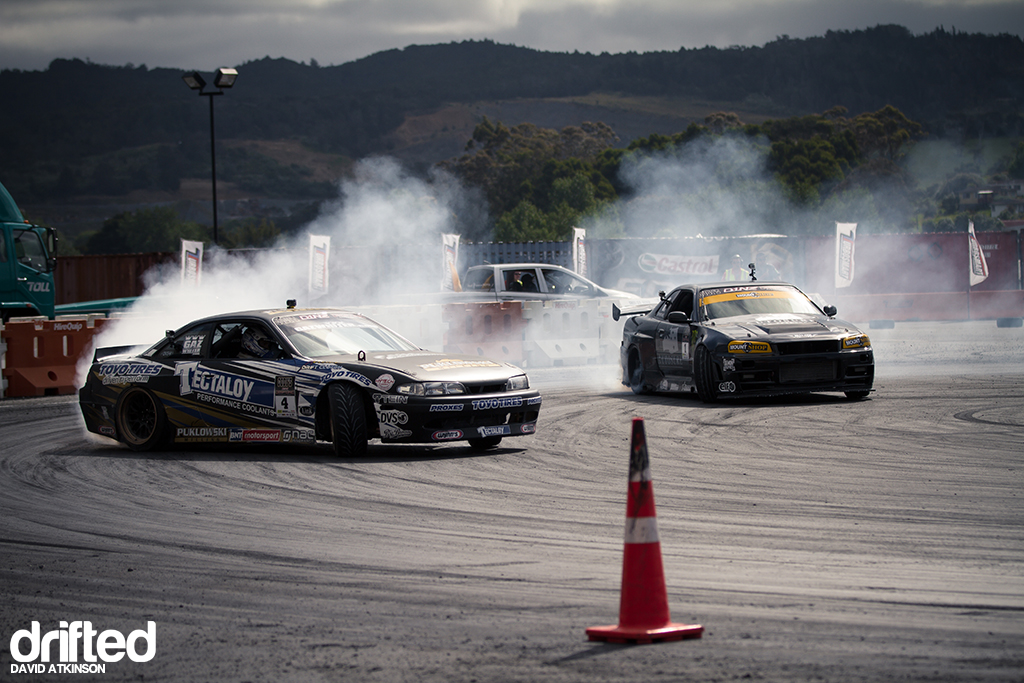
Zak Pole kept his battle scarred R33 Skyline close to Mac Kwok on his chase run. Kwok was perhaps pushing a bit too hard on his chase however, tapping the wall and sending the car spinning around. Pole was later eliminated by Fanga Dan in the top 8.
Southlander Troy Forsythe traveled from one end of the country to the other for the weekend. It was my first time watching him drift in person but he definitely looked quite determined. He was sent home by Nico Reid in the top 8.
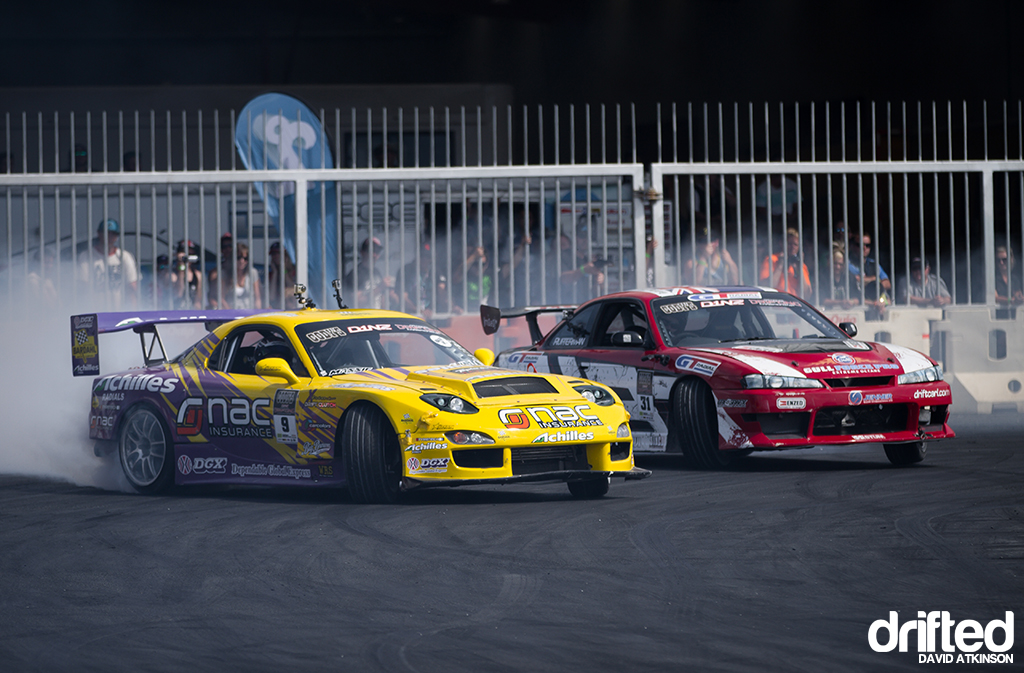
The ‘drift tomato’ Carl Ruiterman battled the RX7 of Daynom Templeman in the top 16 and moved through after Daynom lost points for wall contact.
Andrew Redward was showing he is a force to be reckoned with this round making short work of beating Bradley Lauder and following it up with a win against Carl Ruiterman too.
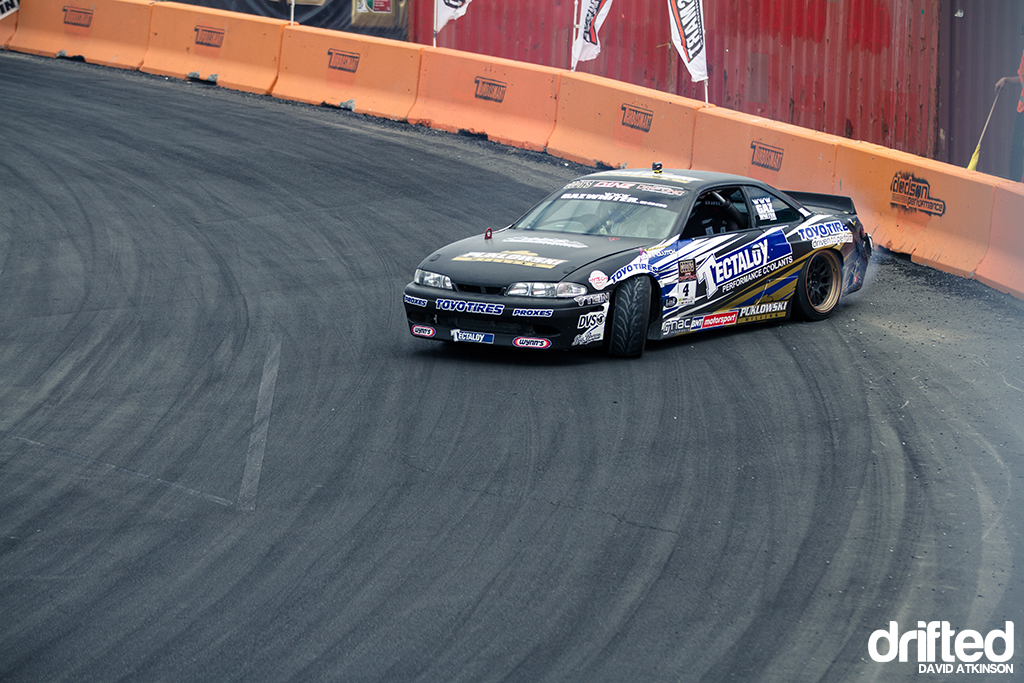
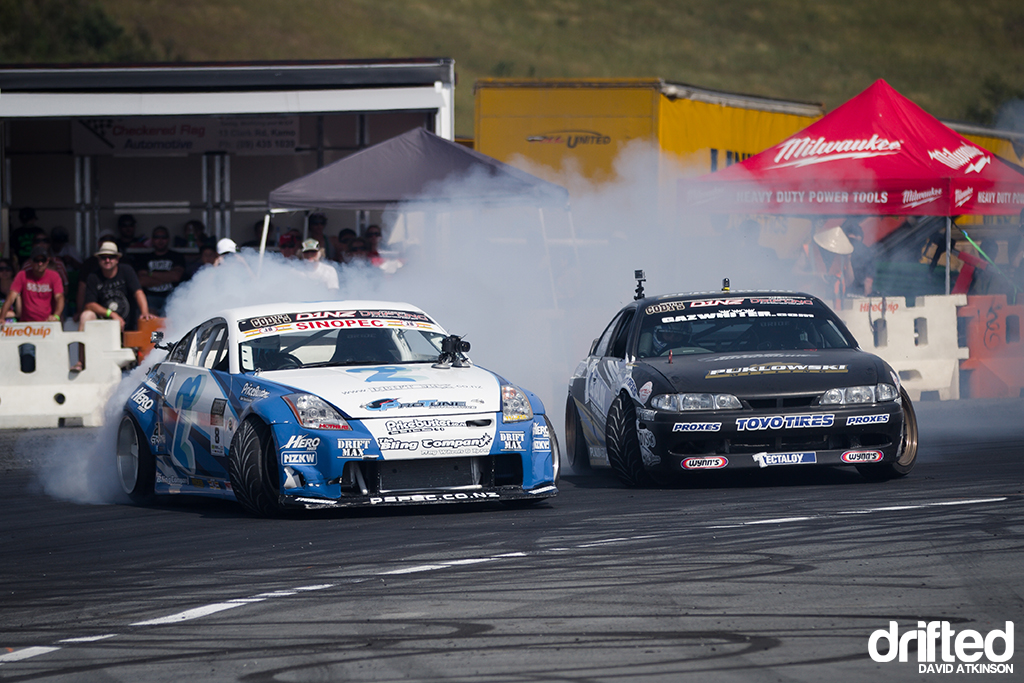
After beating the big Falcon, Sky Zhao came up against the Tectaloy S14. Sky had good angle and smoke however just couldn’t get out of the corners fast enough, allowing Whiter to maintain close proximity and move on to the top 8.
Current championship holder Curt Whittaker met Gaz Whiter in the top 8 in what ended as a controversial battle. The judges ruled that Whiter made contact on his chase run which caused Whittakers car to pop out of gear.
Luxury Sports driver Nico Reid was performing at his best, out-driving Jason Sellers and Troy Forsythe before moving on to battle Curt Whittaker. A very competitive battle cut short by a mechanical issue for Curt allowing Nico to move through to the final.
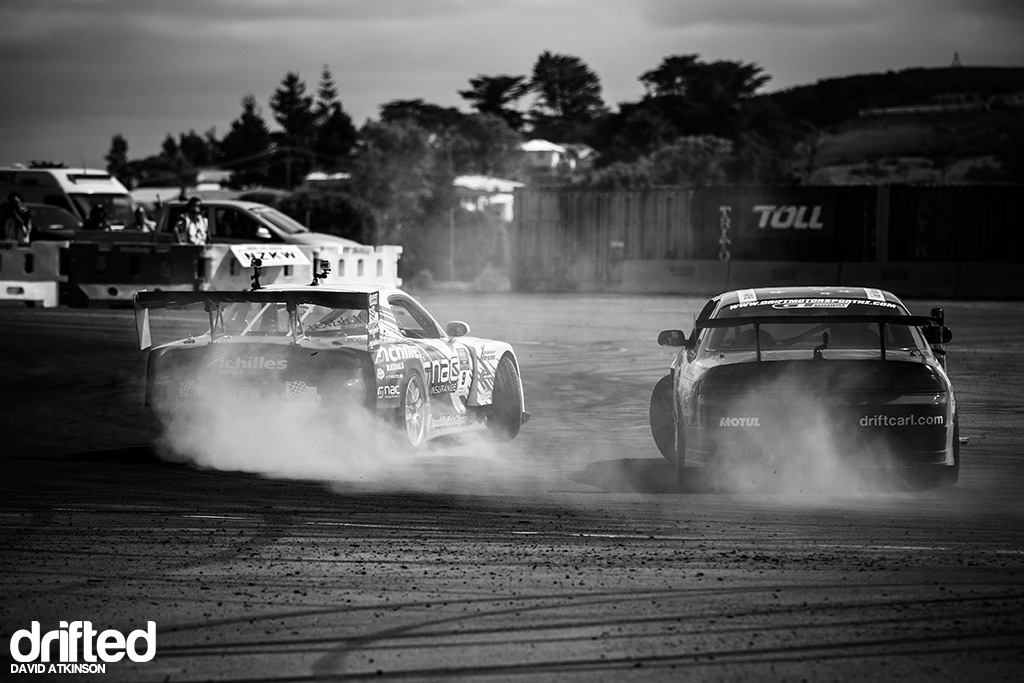
Team Achilles Radial driver Andrew Redward was driving with confidence in the V8 RX7 laying down consistently good runs around the circuit. Coming up against Fanga Dan he was looking just as good until near the end of the circuit when a slight mistake caused him to spin.
Onto the final battle with Nico Reid in the Luxury Sports S15 and Castrol Edge driver Fanga Dan both aiming for the top spot on the podium. The drivers had proven themselves throughout the day and gave the spectators an intense battle to watch. As the day drew to a close it was number 1 qualifier Fanga Dan who was announced as the round winner!
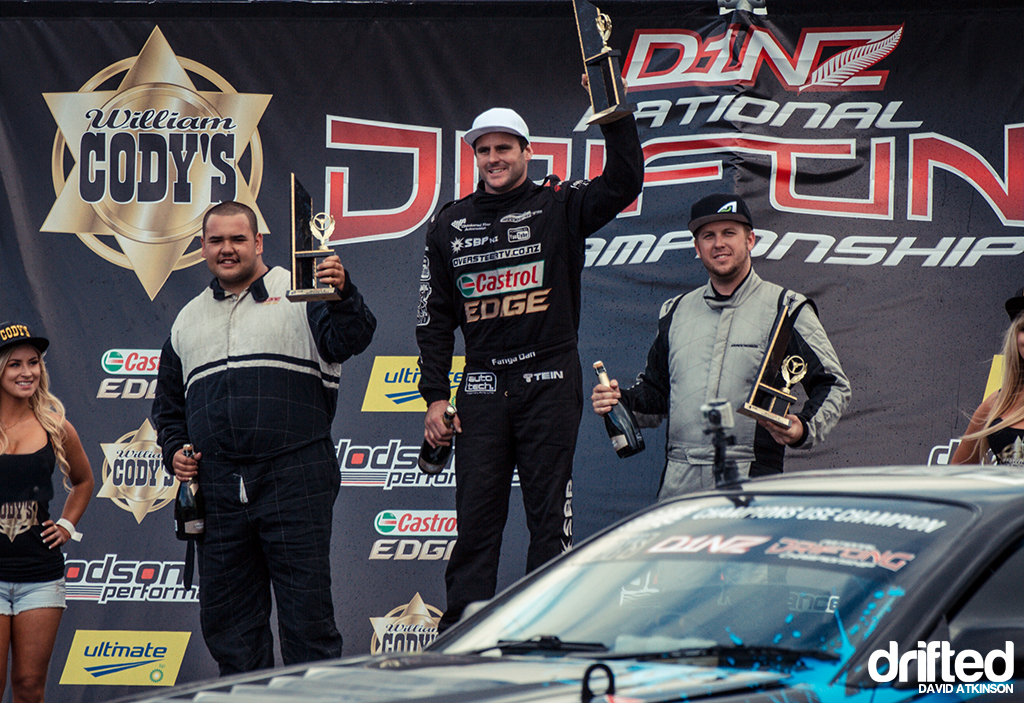
A thoroughly deserved win For Dan Woolhouse on his home turf, qualifying in top position and following it up with the round win. Nico Reid set a personal best with his first podium and showed everyone he will be a real threat this season placing in second position. Consistently good driving earned Andrew Redward third place for the round and I suspect he will do just as well next time.
The third round of D1NZ is the summer stopover in Tauranga on January 19/20th. The track setup will most likely be very similar to this Whangarei track, so it will be interesting to see what changes the teams make to the cars for another small circuit. I’ll leave you with the championship points table after round 2:
1. Daniel Woolhouse 204
2. Curt Whittaker 174
3. Nico Reid 146.5
4. Andrew Redward 143
5. Daynom Templeman 129
6. Ben Belcher 127.5
7. Gaz Whiter 127
8. Carl Ruiterman 124.5
9. Sky Zhao 116.5
10. Brad Lauder 115
Words & Photos:
David Atkinson

